출처 : 인프런_따라하며 배우는 노드, 리액트 시리즈 — 기본 강의
이번 시간에는 권한에 따라 페이지 접근 제한을 두기 위해 회원 인증 단계를 구현해보자.
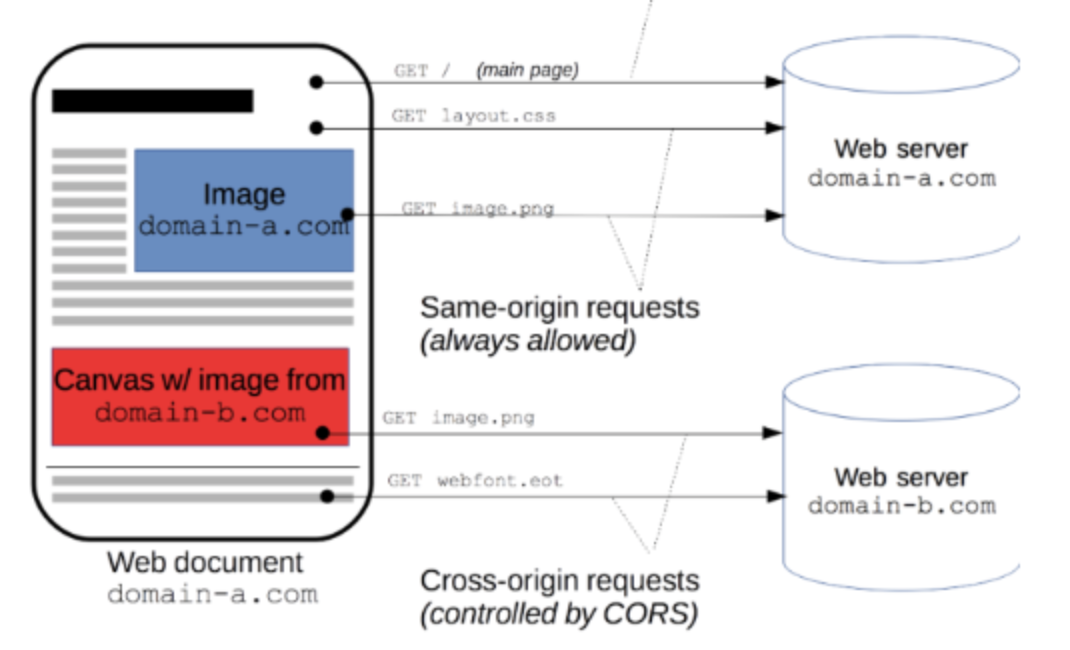
페이지 접근은 다음과 같이 나눌 수 있다.

페이지 접근 뿐 아니라 댓글 작성, 파일 전송 및 업로드 등에 관련해서도 인증 과정이 필요하다.
들어갈 수 있는 페이지에 대한 관리는 HOC를 쓸 것이다.
HOC이란?
-function으로서 다른 컴포넌트를 받아 새로운 컴포넌트를 리턴한다.

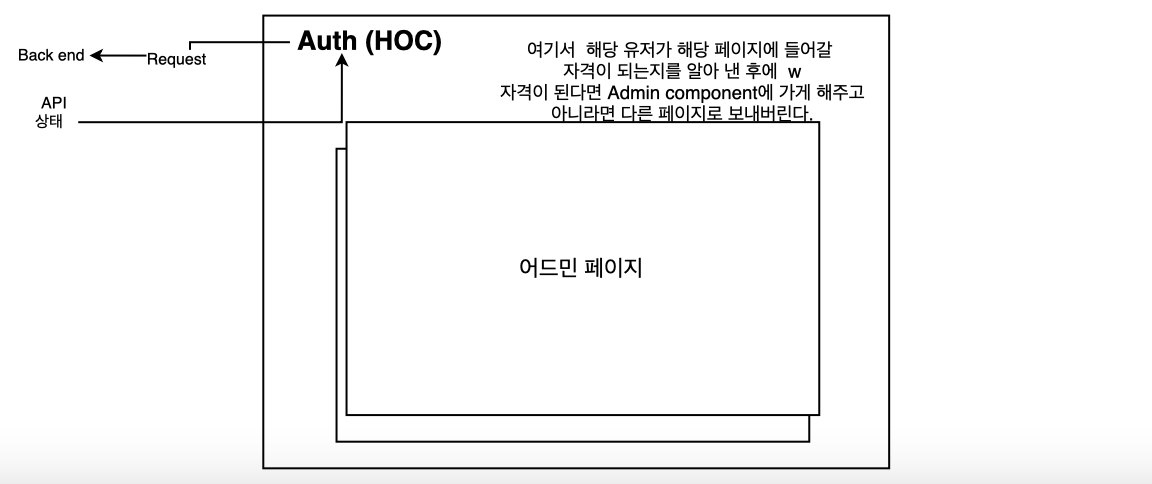
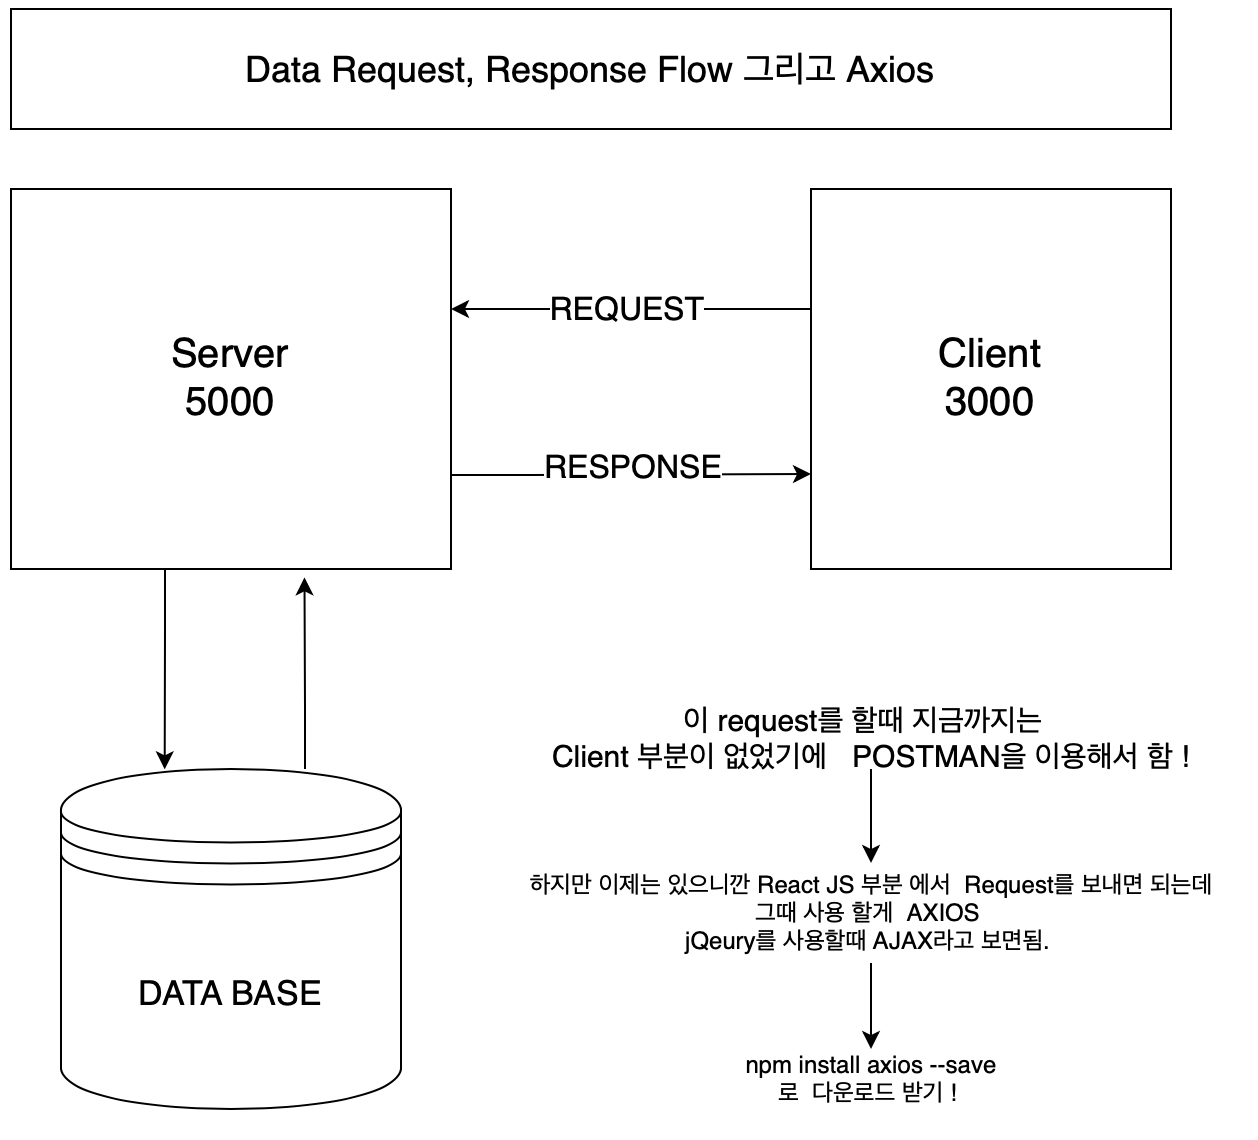
Auth 컴포넌트는 backend에 request를 날리고 상태를 가져올 것이다.
우리가 가지고 있는 페이지(LandingPage, LoginPage, RegisterPage)를 모두 Auth 에 넣은 다음 Auth에서 처리를 하는 방식이다.
예를 들어 LandingPage를 넣으면 Auth는 Backend에 Request를 날린다. 현재 LandingPage에 들어와있는 사람의 상태 정보(로그인이 되어 있는지 아닌지, Admin인지 아닌지 등)를 Auth로 가져온다.
Step 1) 클라이언트는 서버쪽으로 요청을 보낸다.
/client/src/components/views/hoc/auth.js 파일을 새로 생성한 뒤 아래와 같이 작성한다.
여기서 서버쪽의 API로 request를 보낼 것이다. 보내기 위해 redux를 사용했다. dispatch로 action(action이름은 auth)을 날리자.
페이지가 이동할 때마다 dispatch로 계속 서버에 request를 주고 있는 것이다.
파라미터 설명
- SpecificComponent : LandingPage
- option : null (아무나 출입 가능한 페이지) , true(로그인한 유저만 출입 가능), false(로그인한 유저 출입 불가능)
- adminRoute : true(관리자만 들어갈 수 있는 페이지)
import React, {useEffect} from 'react';
import axios from 'axios';
import {useDispatch} from 'react-redux'
import {auth} from '../_actions/user_action'
export default function (SpecificComponent, option, adminRoute = null){
function AuthenticationCheck(props){
const dispatch = useDispatch();
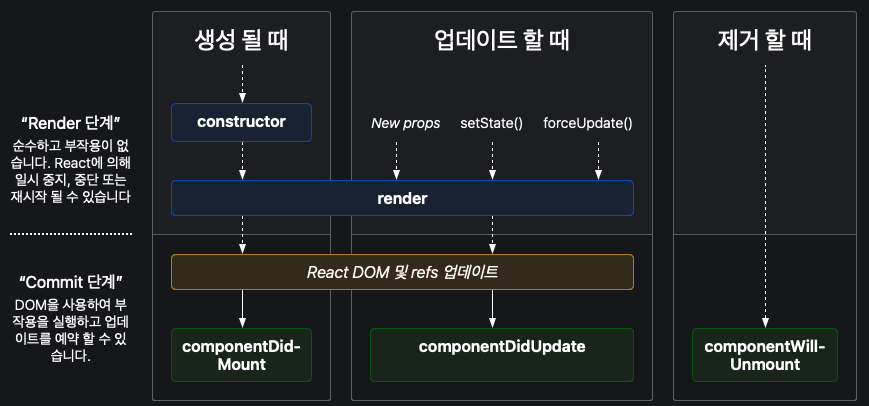
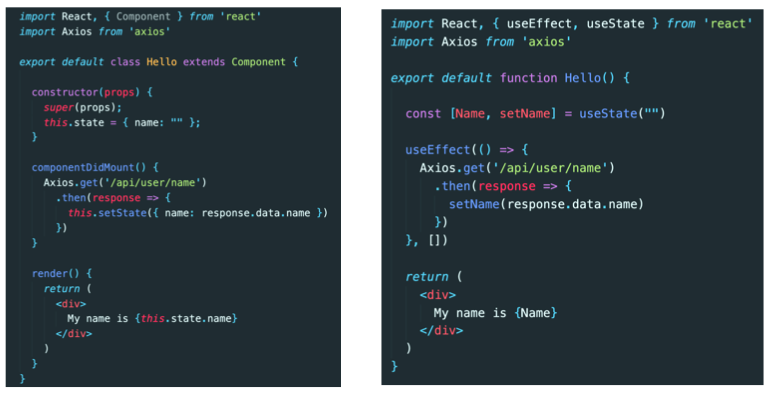
useEffect(() => {
dispatch(auth()).then(response => { //backend에서 처리한 정보들이 response안에 다 들어있음
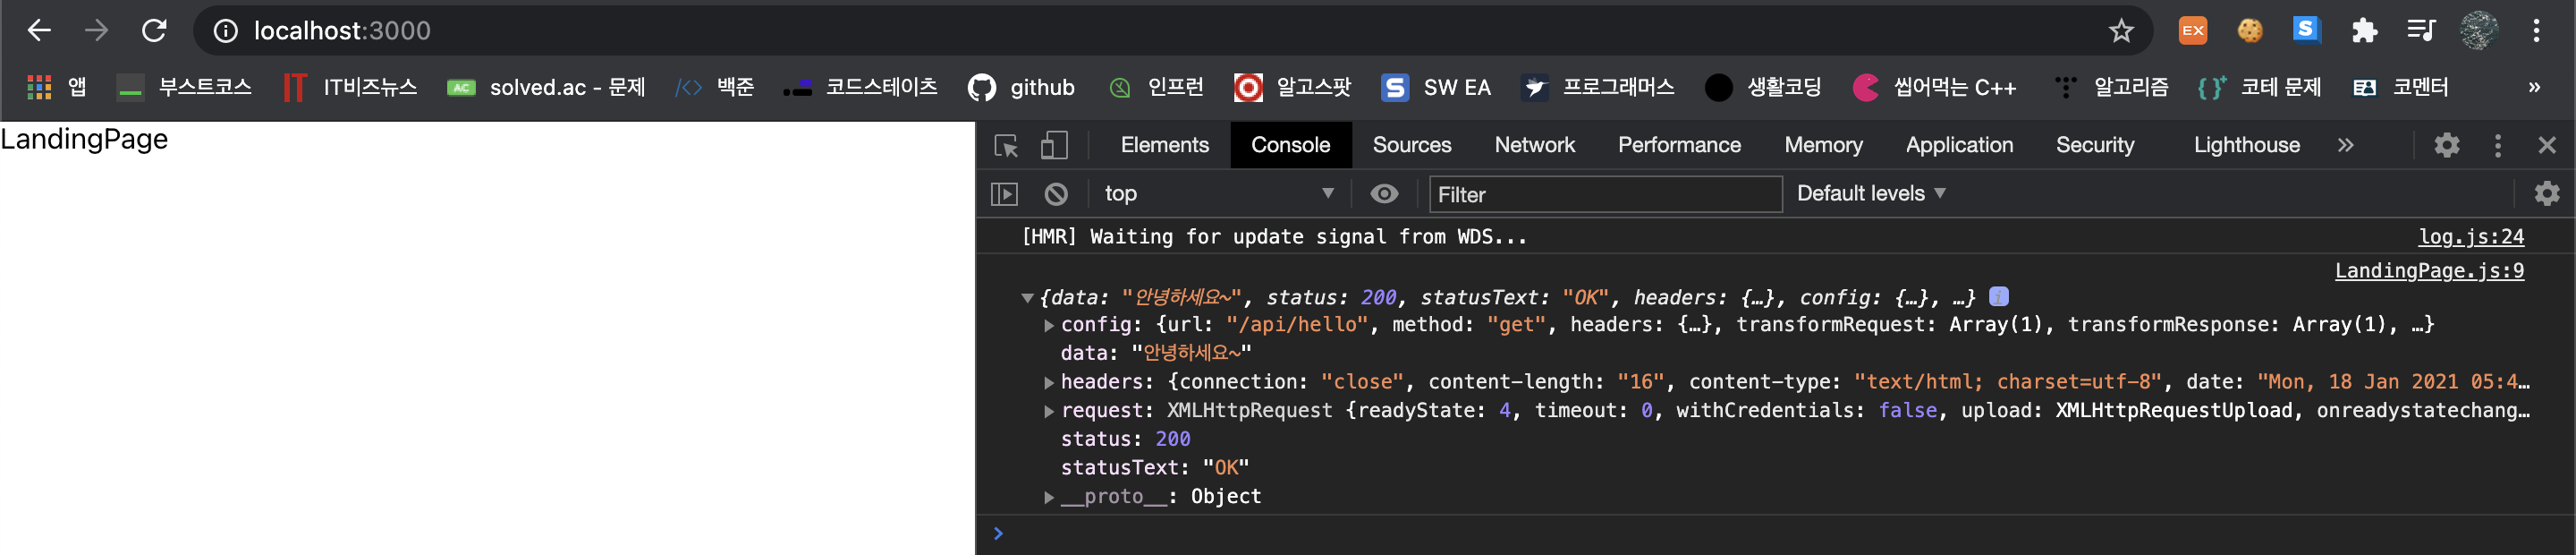
console.log(response)
})
}, [])
return (
<SpecificComponent/>
)
}
return AuthenticationCheck
}
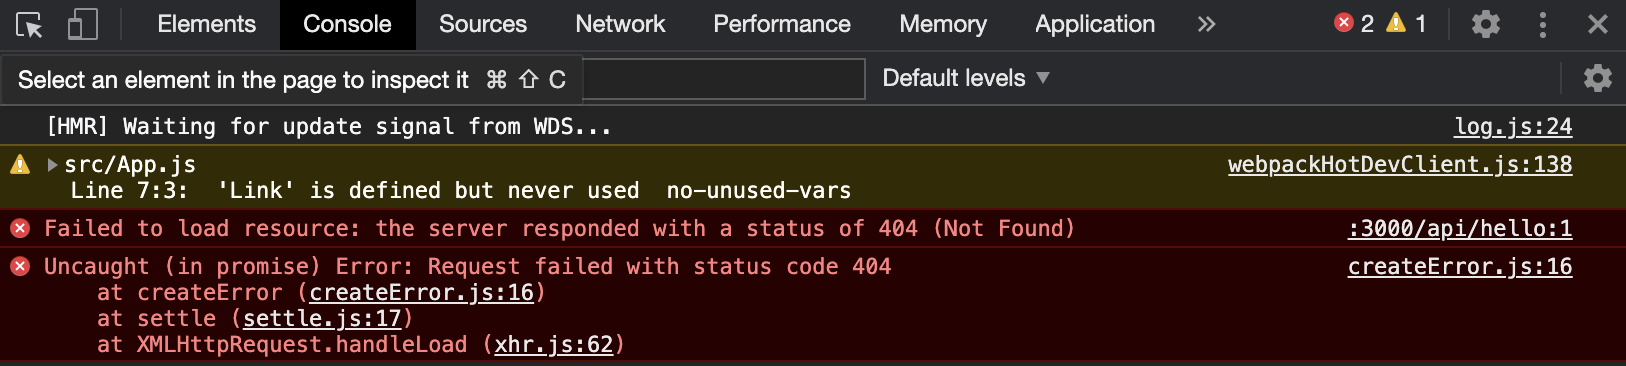
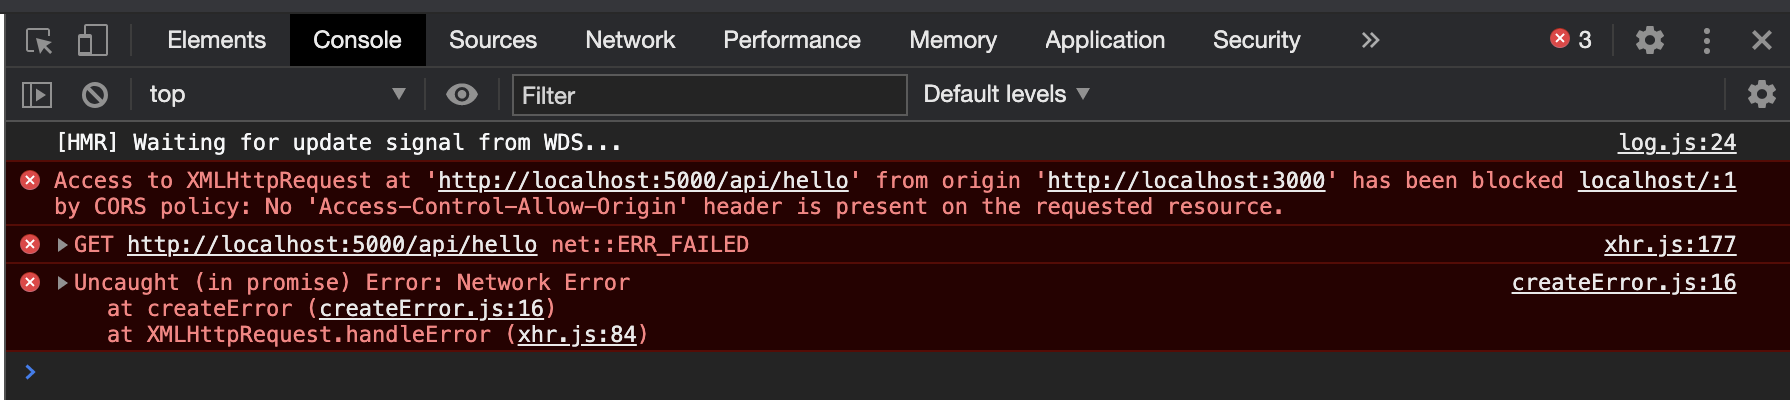
Step 2) 서버에서는 미들웨어로 이동
서버 쪽에 구현해놓은 API 를 보자.

index.js에 이미 구현해놓았다.
get request로 요청을 받으면 미들웨어 auth가
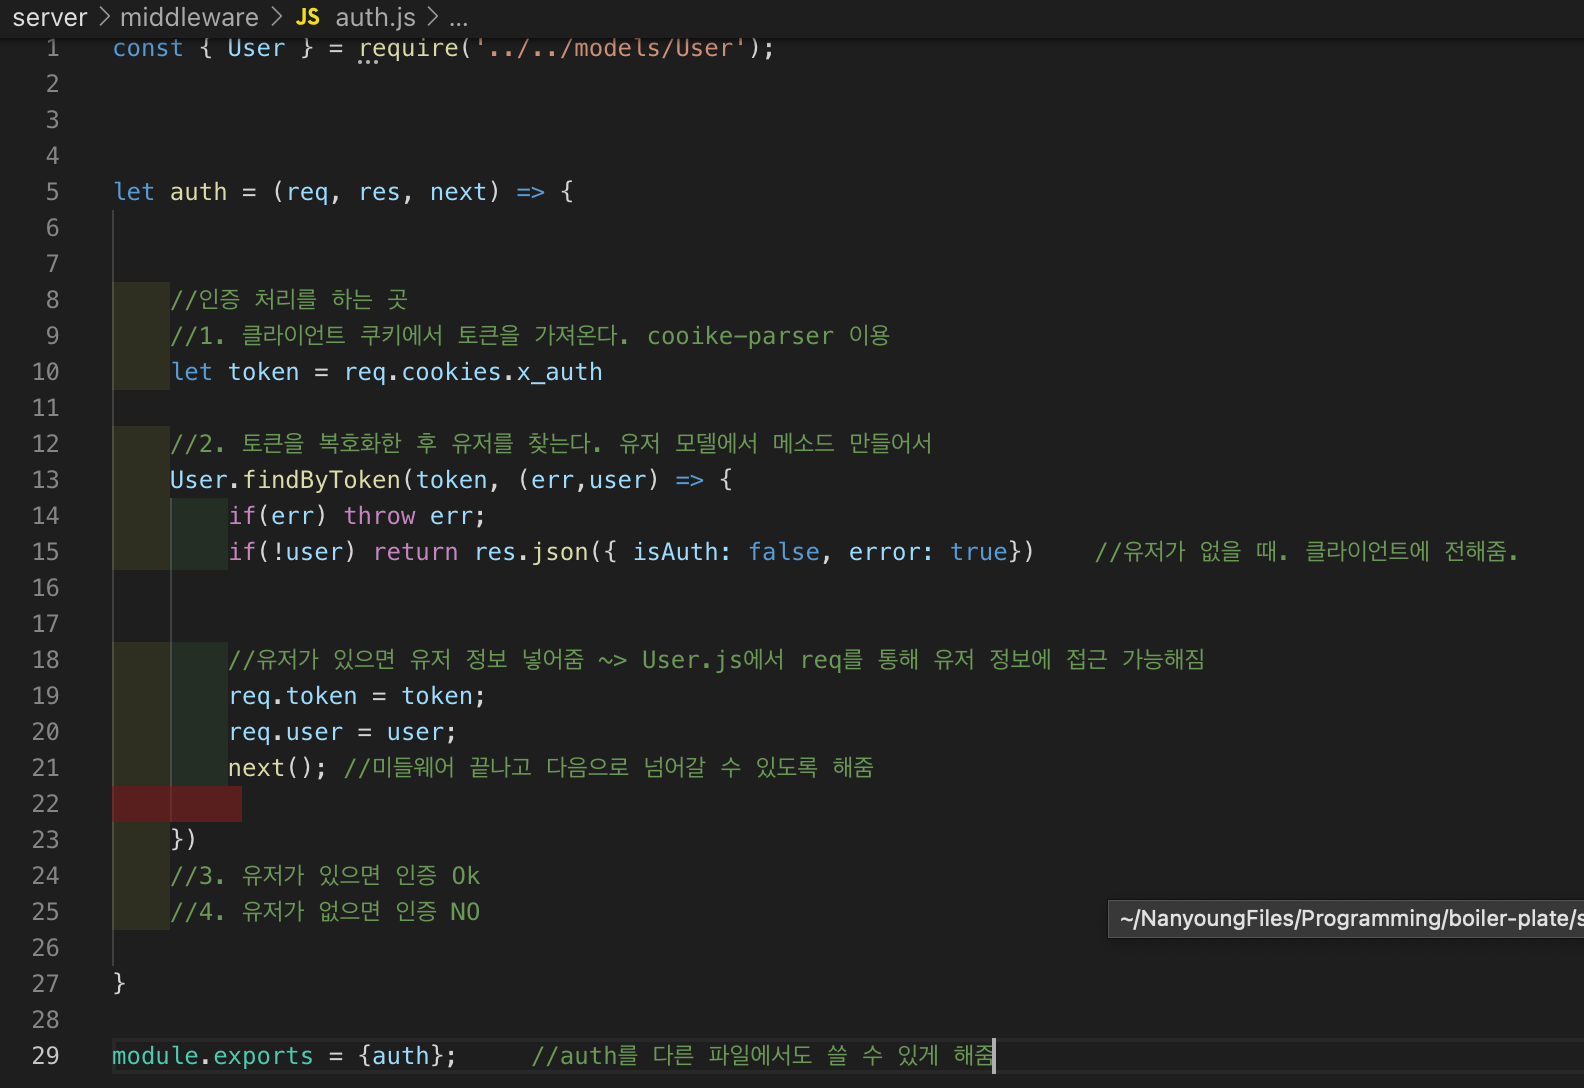
여기로 그 요청이 넘어온다. 여기서는 토큰을 사용해서 쿠키 안에 토큰을 집어 넣는다. 그 쿠키를 보고 로그인 한 유저인지 아닌지를 판단하고 그 결과를 리액트에 넘겨준다.
Step 1)-1 Action 구현
그리고 user_action.js에도 아래와 같이 인증 기능을 하는 함수를 추가해준다.
export function auth() {
const request = Axios.get('/api/users/auth') //endpoint로 get request , get이니까 login과 다르게 get 이니까 body 파라미터 필요 없음
.then(response => response.data)
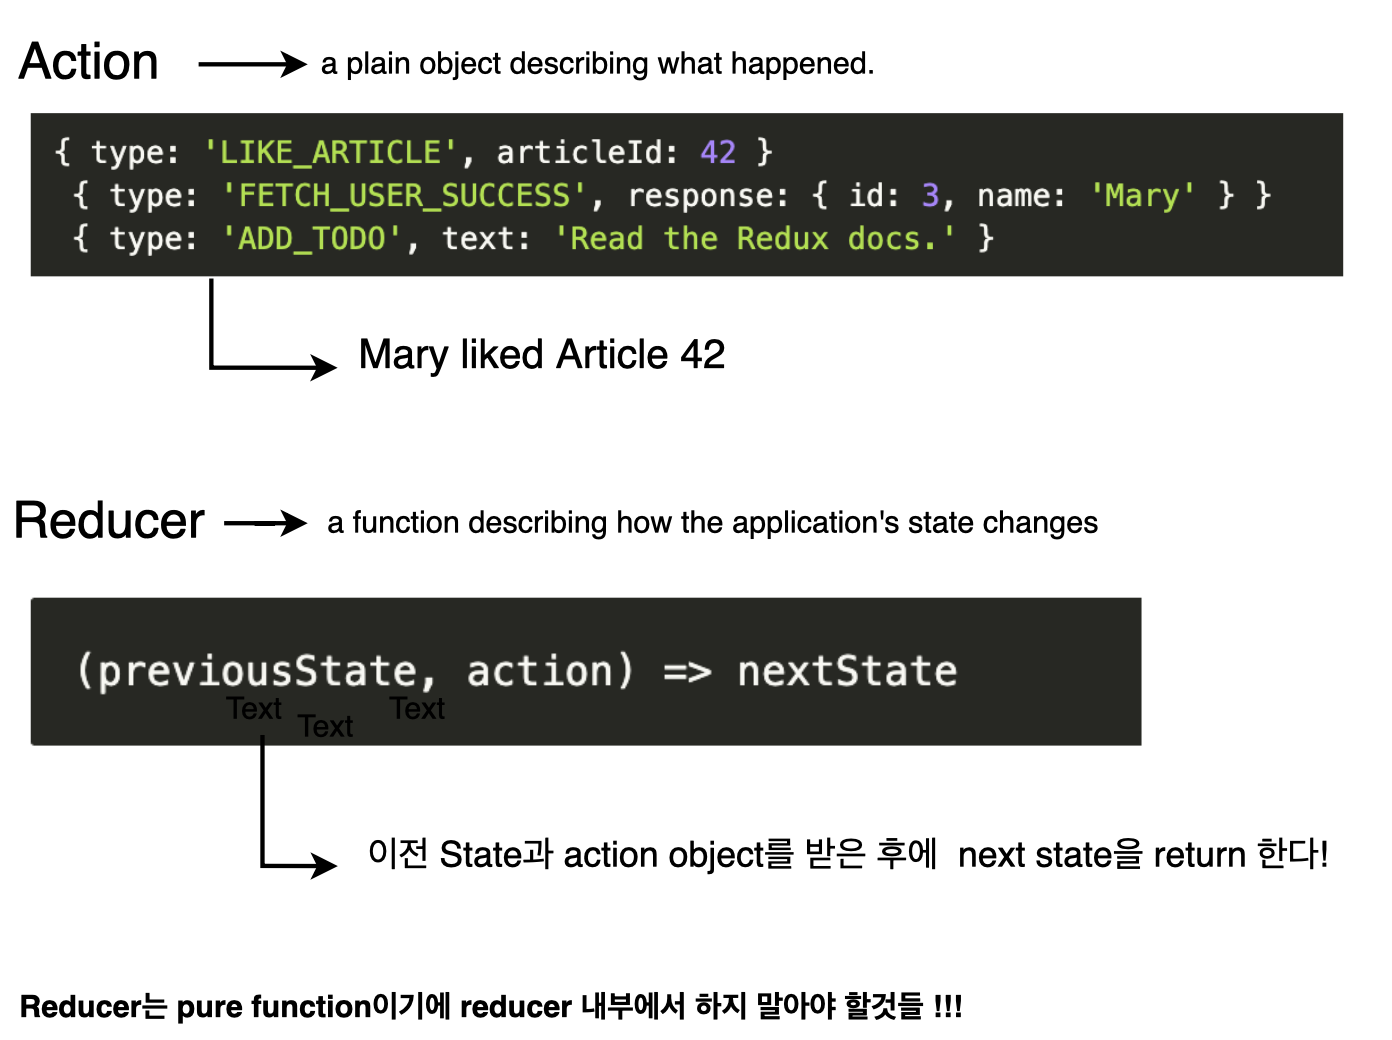
return { //Action 했으니까 이제 Reducer로 보냄
type: AUTH_USER,
payload: request
}
}
Step 1)-2 Reducer 구현
action에 따라 결과를 리턴해주는 곳이다. AUTH_USER 케이스를 추가해준다.
import {
    LOGIN_USER, REGISTER_USER, AUTH_USER
} from '../_actions/types';


export default function (state={}, action){  //state 는 이전 상태

    switch(action.type){        //Action에는 여러 타입 존재함. 이 타입에 따라 다르게 반응하도록 작성
        case LOGIN_USER:
            return {...state, loginSuccess: action.payload}       //... : spread operator은 파라미터 state를 그대로 가져온 것으로 빈 상태를 의미
            break;

        case REGISTER_USER:
            return { ...state, register: action.payload}
            break;

        case AUTH_USER:
        return { ...state, userData: action.payload}
        break;

        default:
            return state;

    }

}
Step 4) 컴포넌트를 Auth HOC에 넣기
각 컴포넌트를 Auth로 감싸주고 파라미터를 지정해서 넘겨준다. 파라미터 설명은 Step1) 에 기재했다.
import React from 'react'

import {
  BrowserRouter as Router,
  Switch,
  Route,
  // eslint-disable-next-line
  Link
} from "react-router-dom";


import LandingPage from './components/views/LandingPage/LandingPage';
import LoginPage from './components/views/LoginPage/LoginPage';
import RegisterPage from './components/views/RegisterPage/RegisterPage';
import Auth from './hoc/auth'

function App() {
  return (
    <Router>
      <div>

        {/*
          A <Switch> looks through all its children <Route>
          elements and renders the first one whose path
          matches the current URL. Use a <Switch> any time
          you have multiple routes, but you want only one
          of them to render at a time
        */}


{         /* 로그인한 유저는 로그인 페이지에 못들어감 */}
        <Switch>
          <Route exact path="/" component={Auth(LandingPage, null)} />
          <Route exact path="/login" component={Auth(LoginPage, false)} />
          <Route exact path="/register" component={Auth(RegisterPage, false)} />
        </Switch>
      </div>
    </Router>
  );
}

export default App;
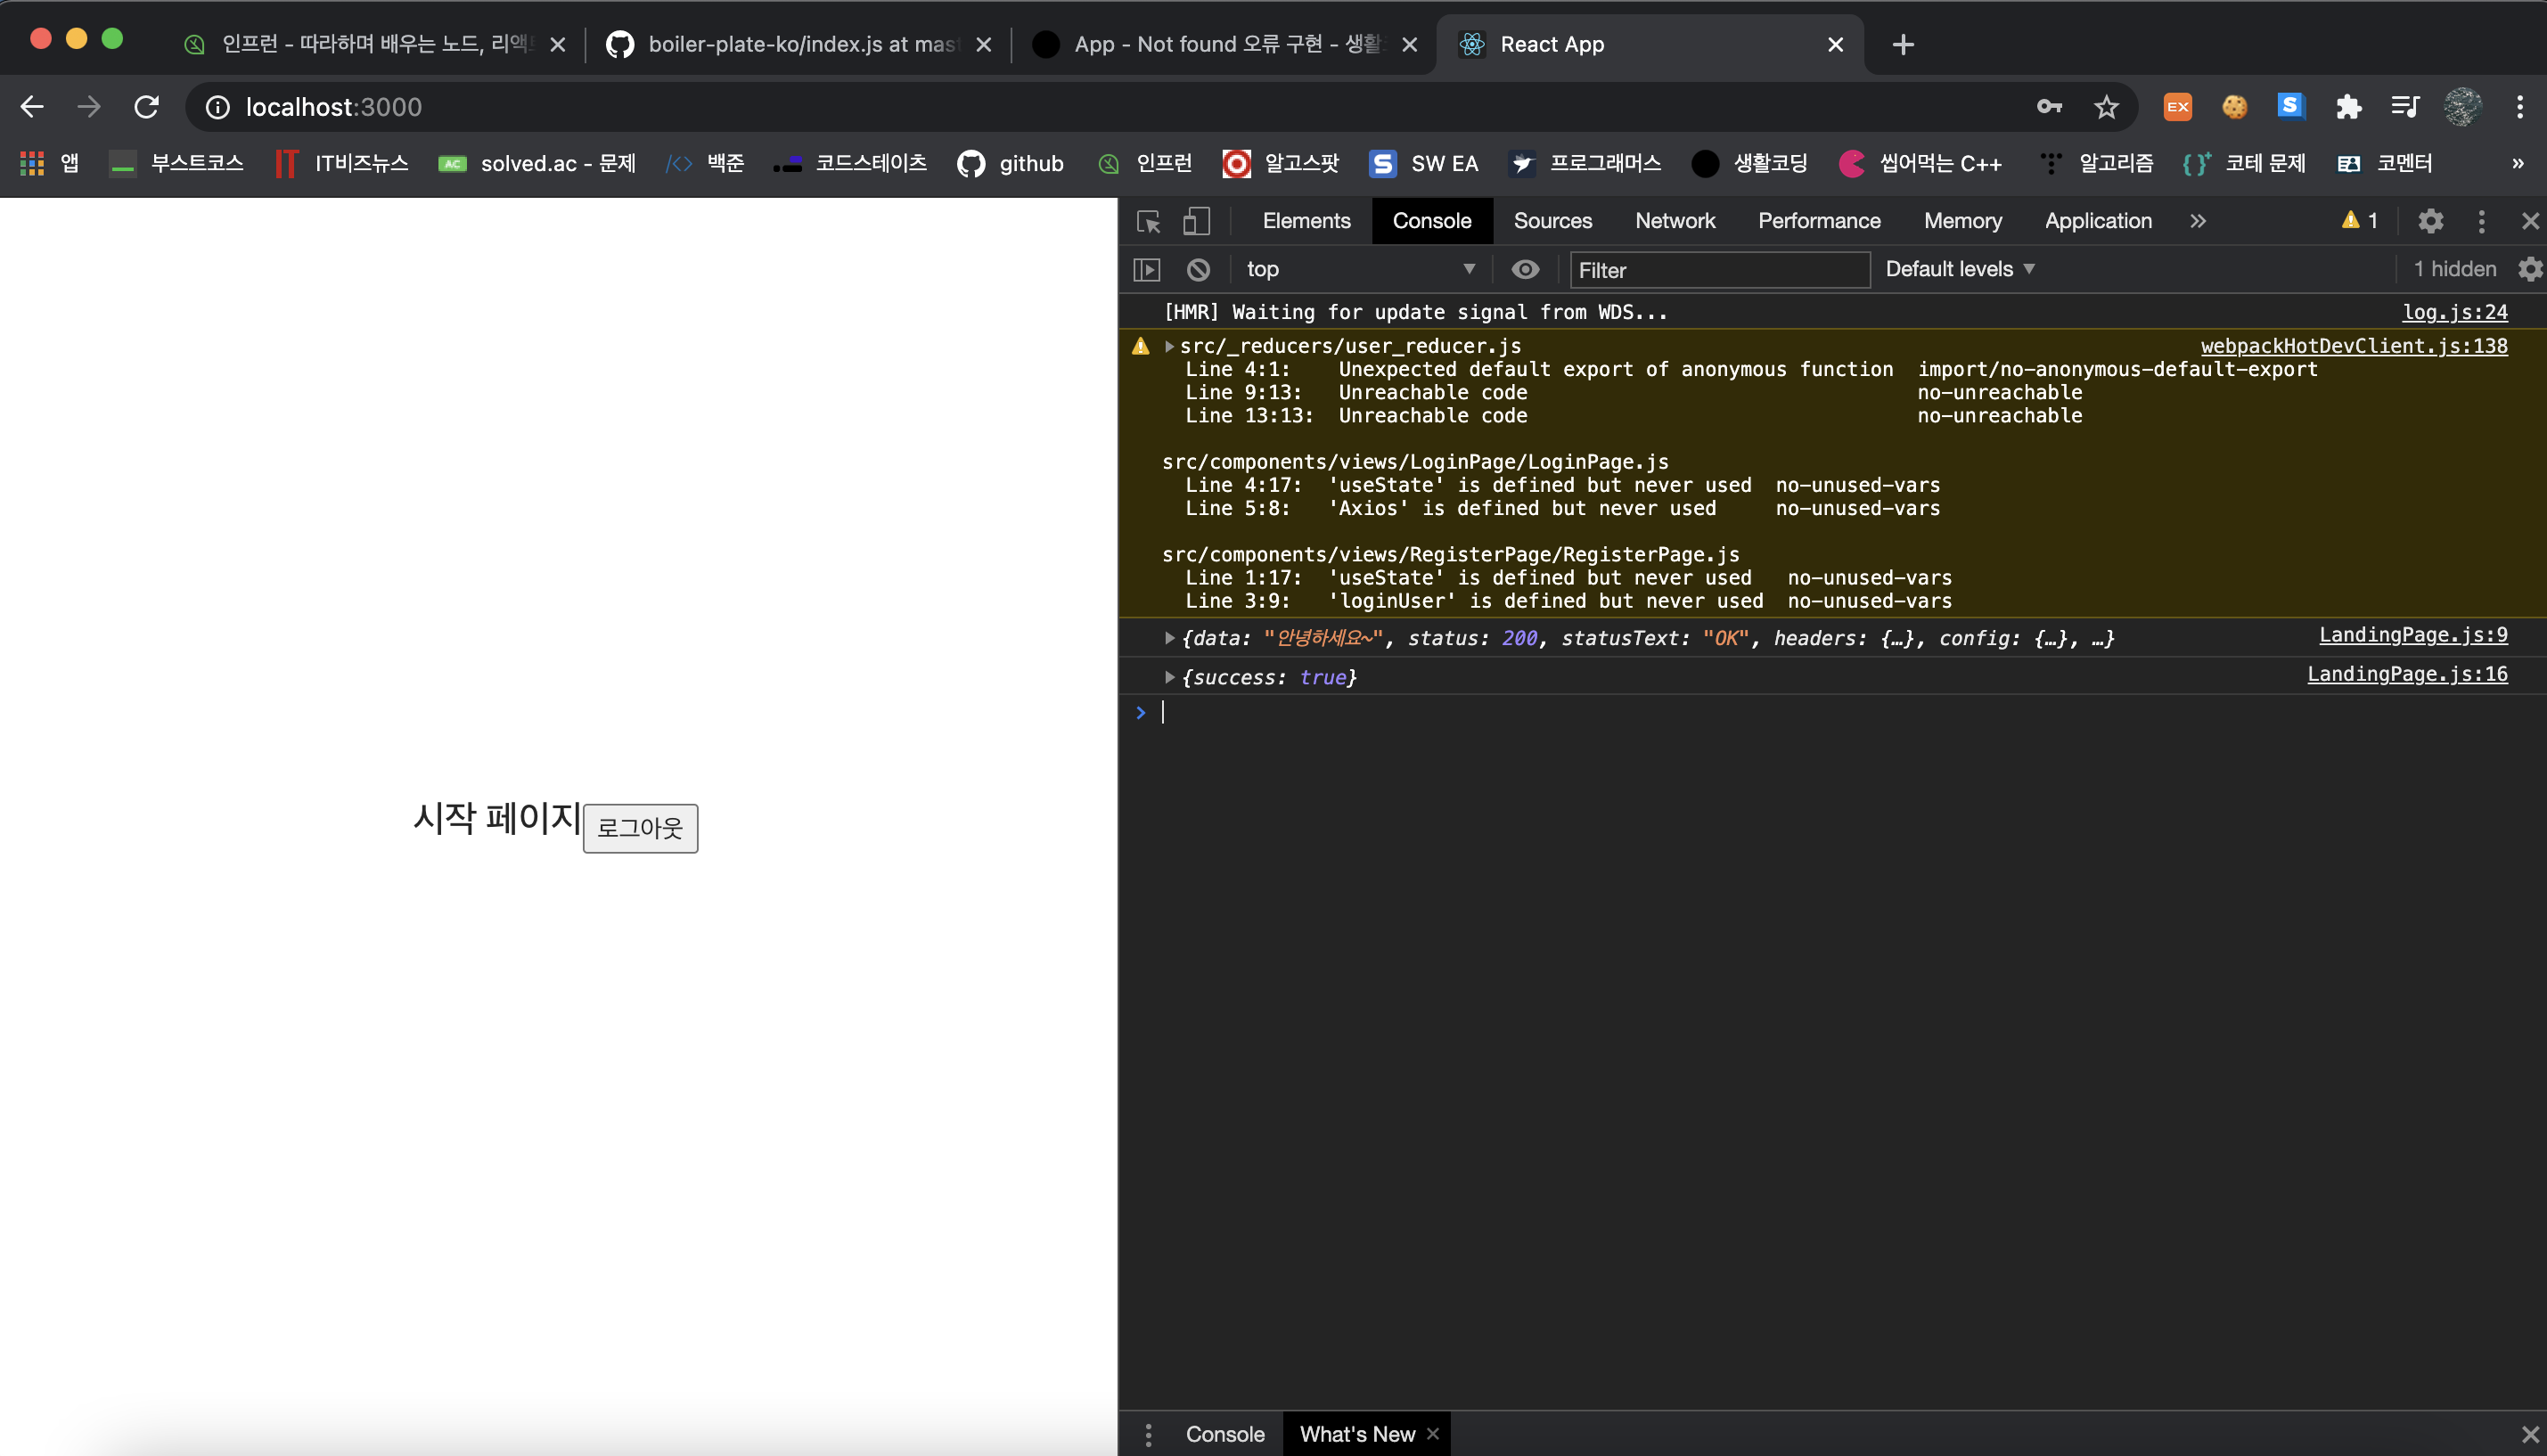
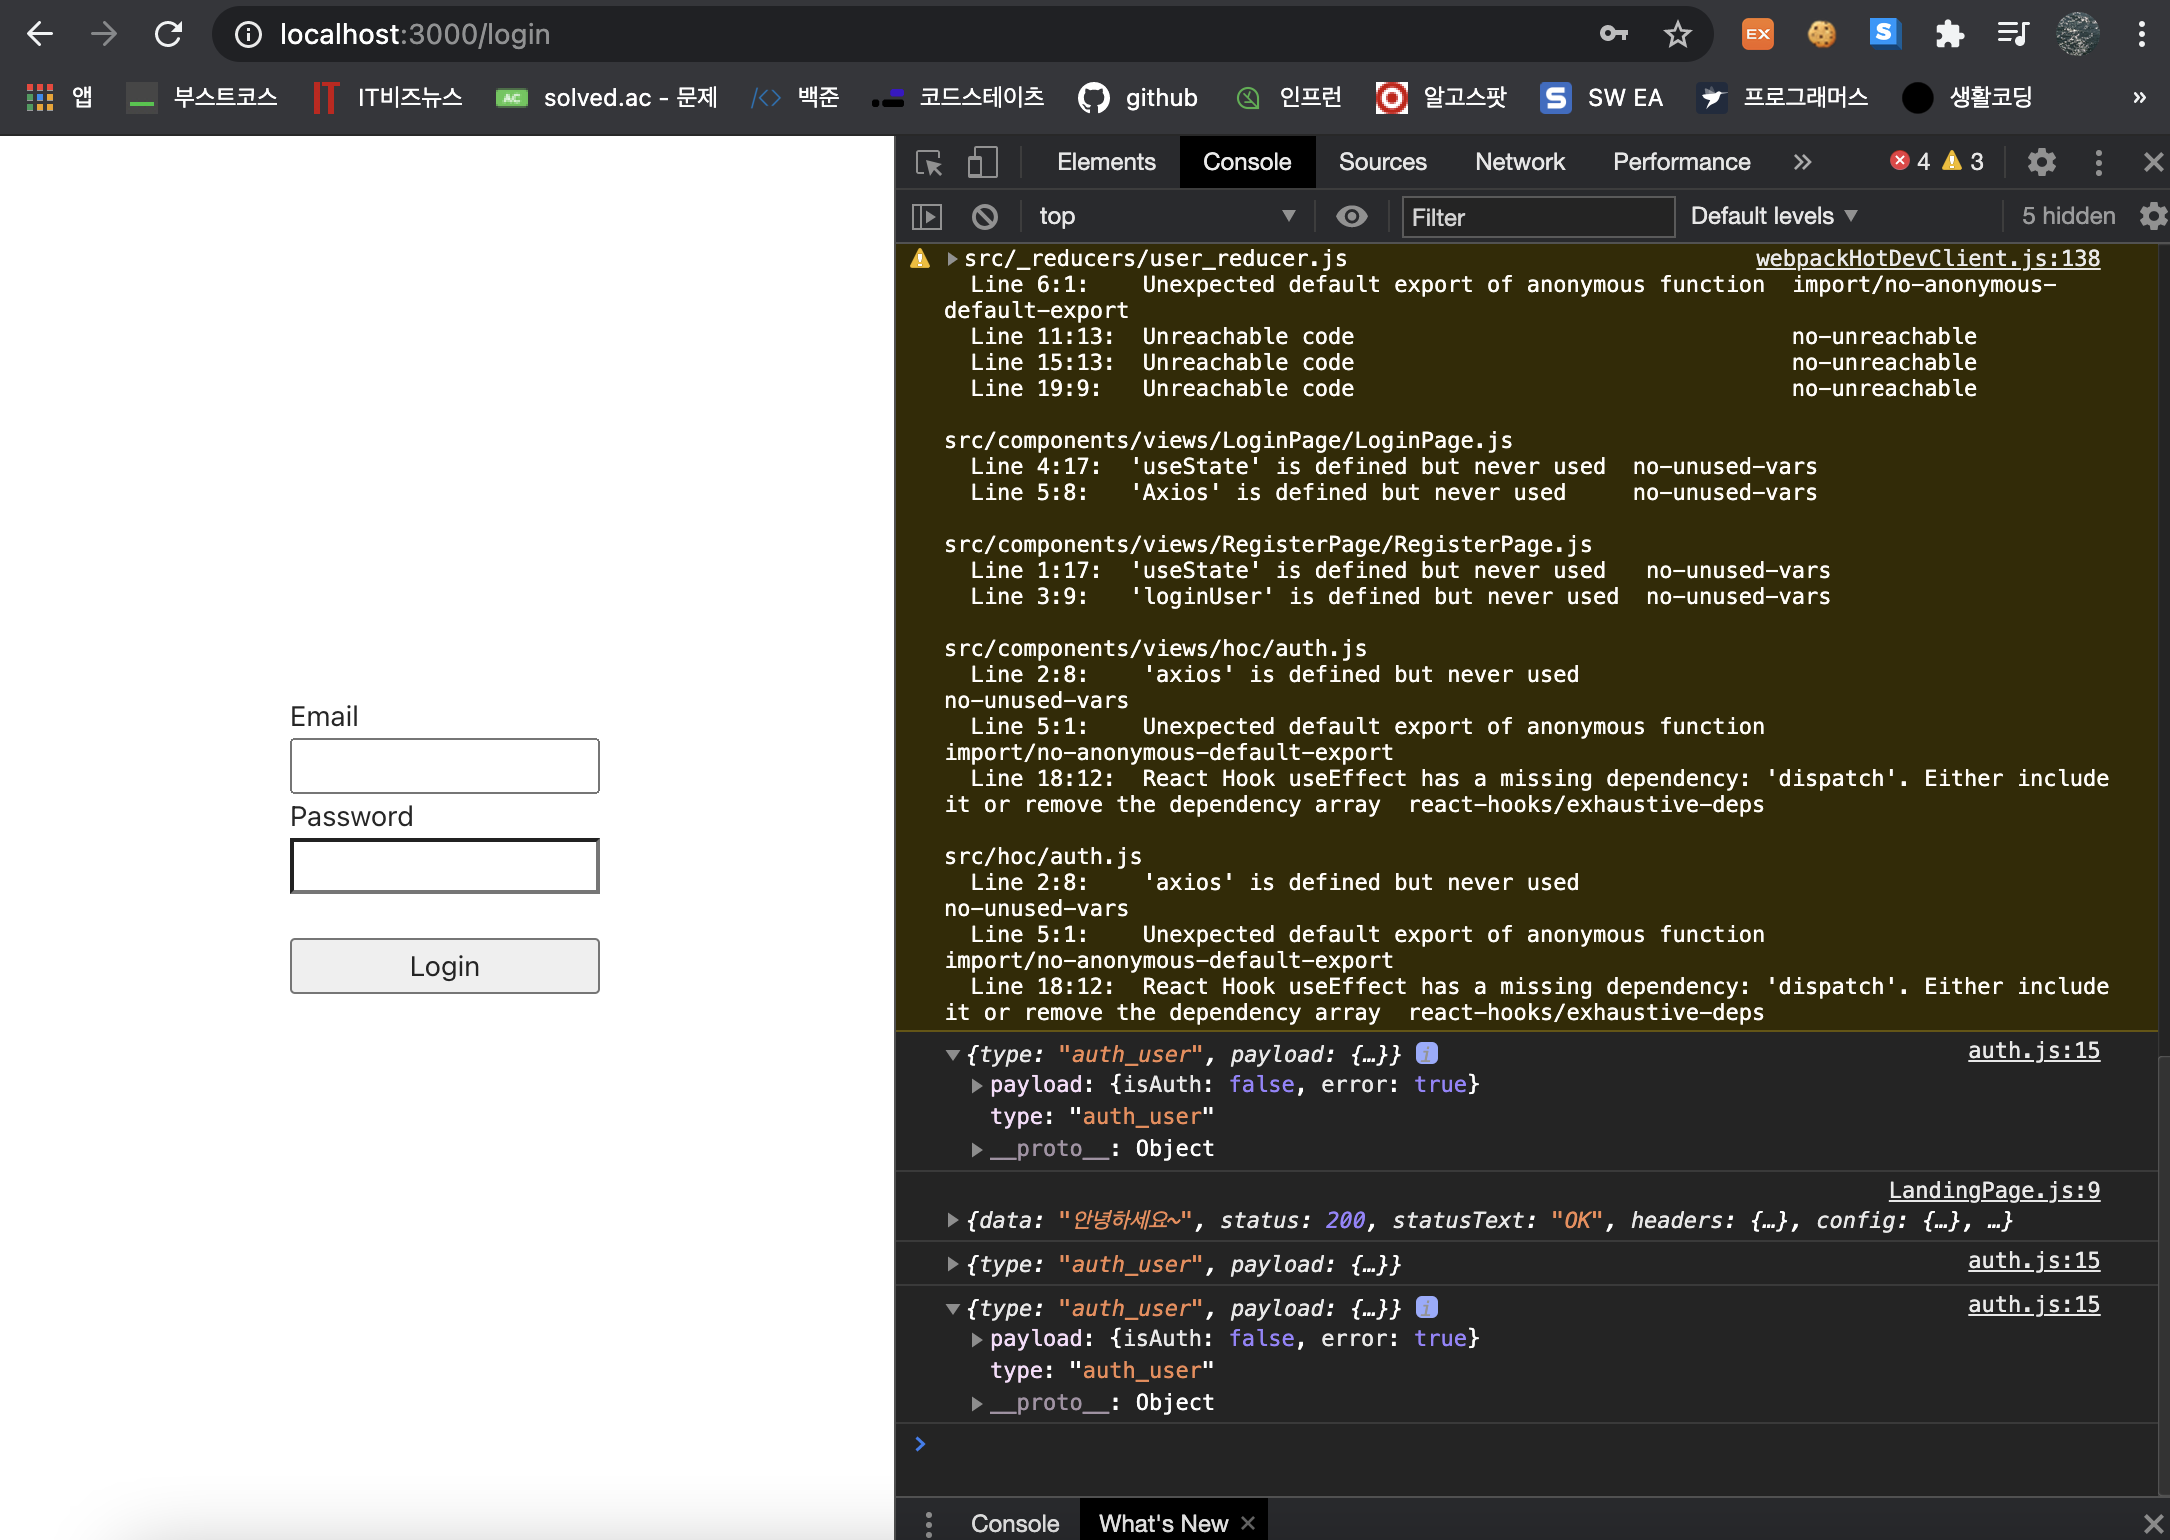
Step 5) 기능 확인하기
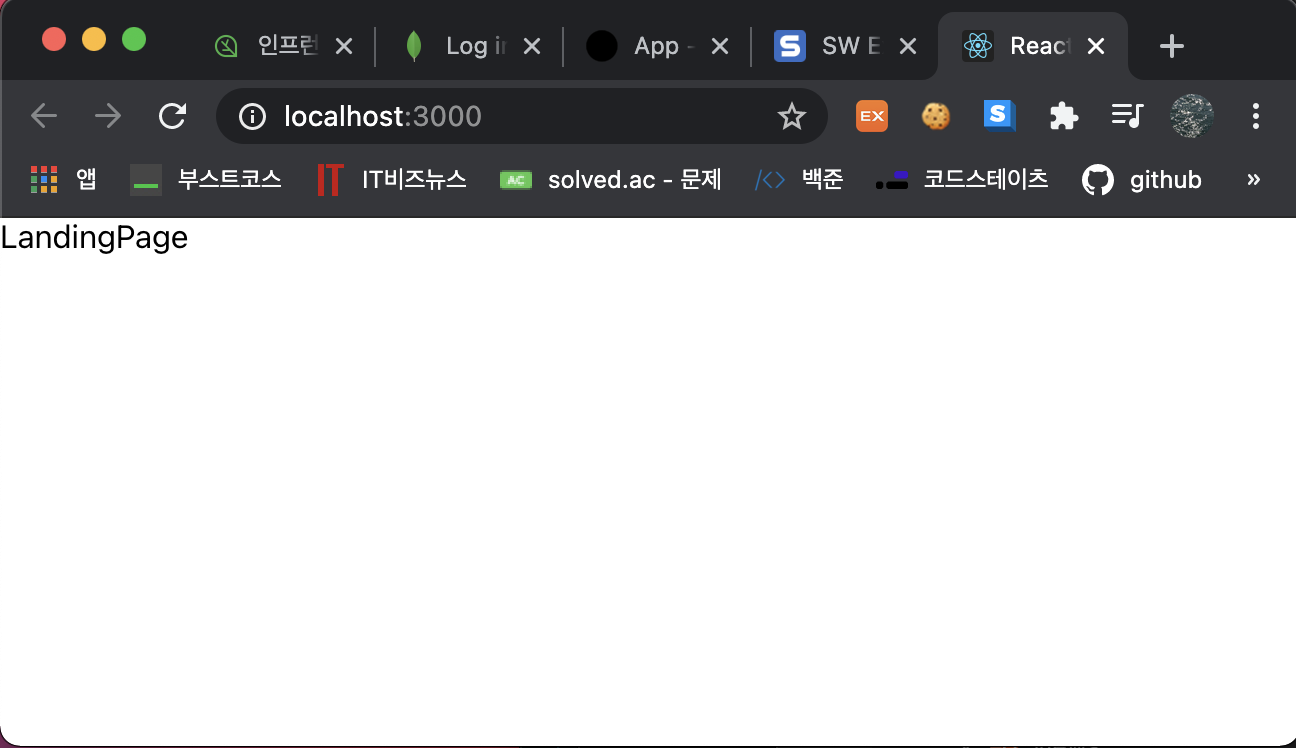
이제 실행해서 결과를 확인해보자.
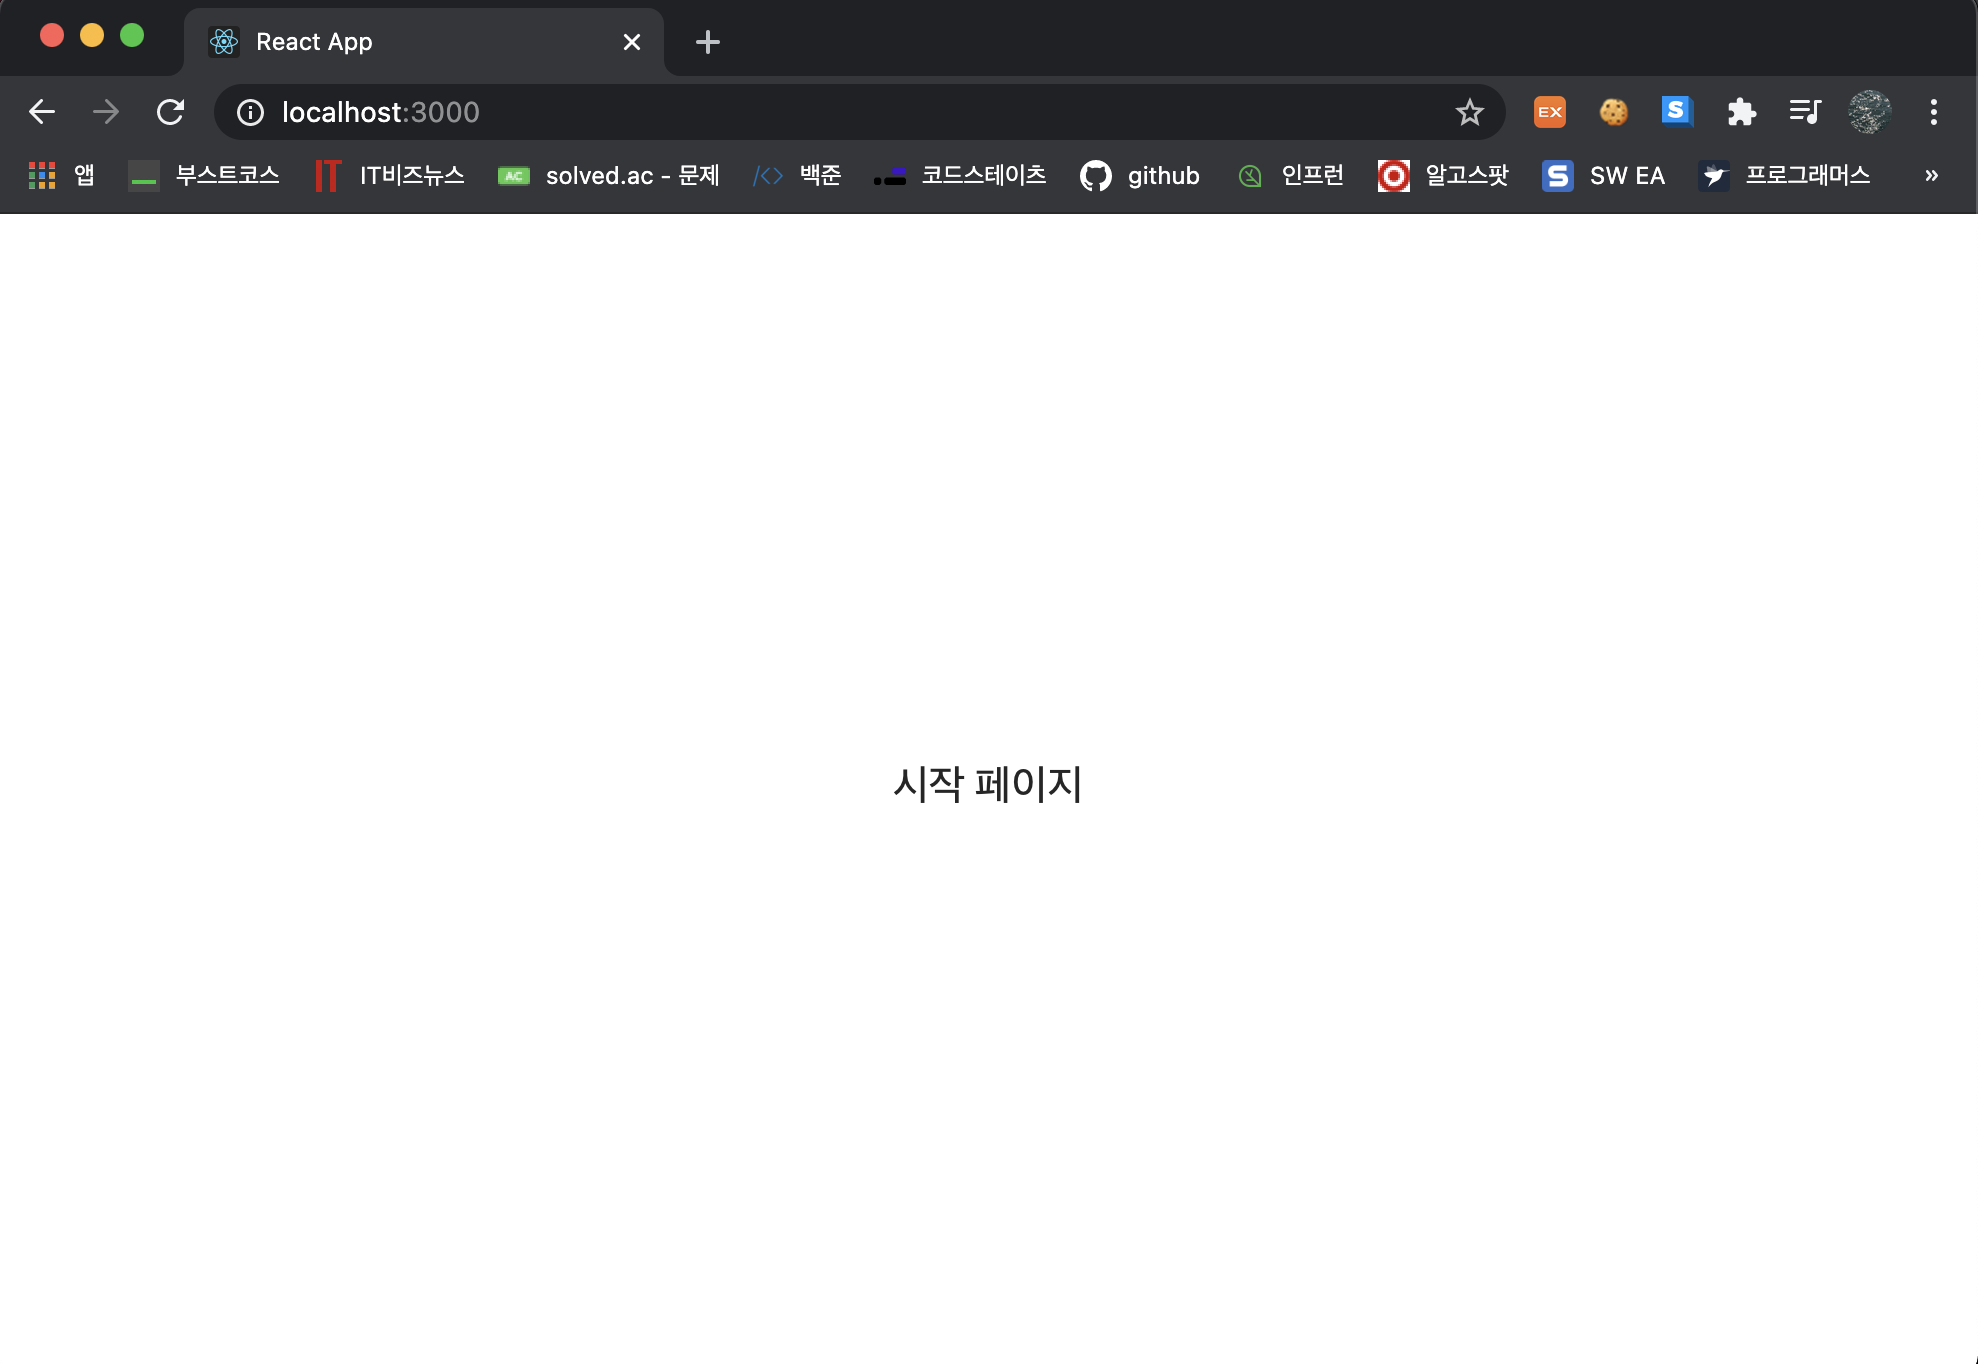
1) 로그인 전 LandingPage
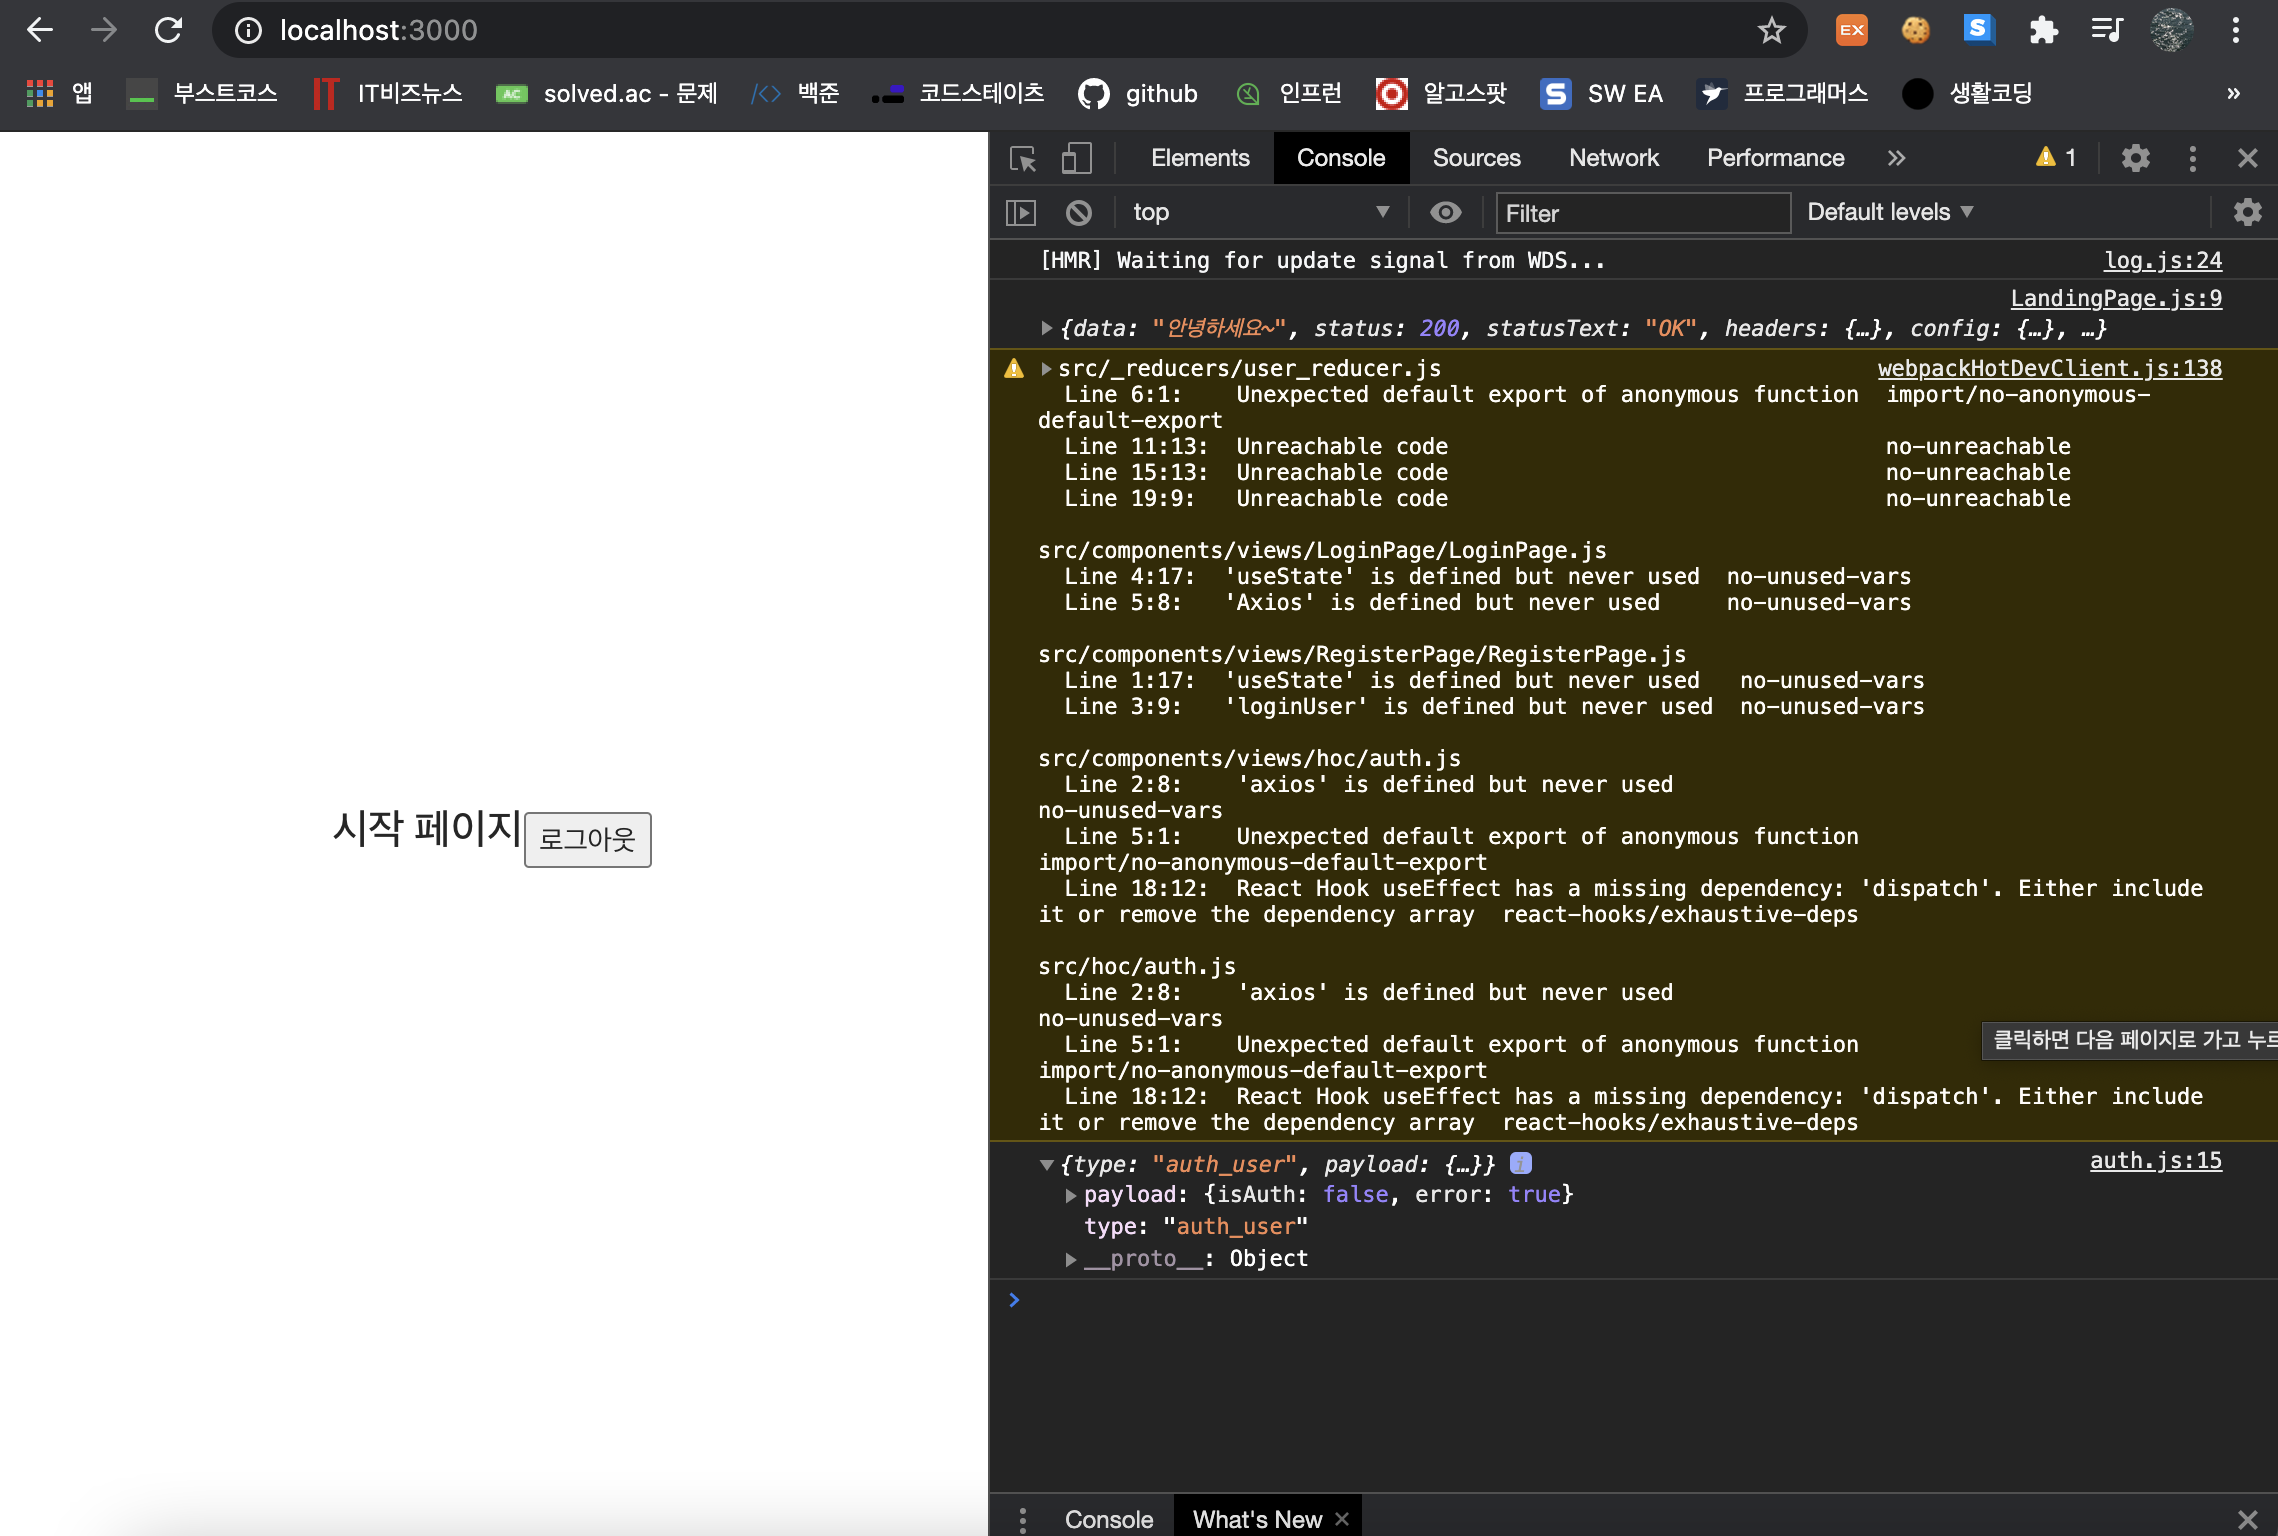
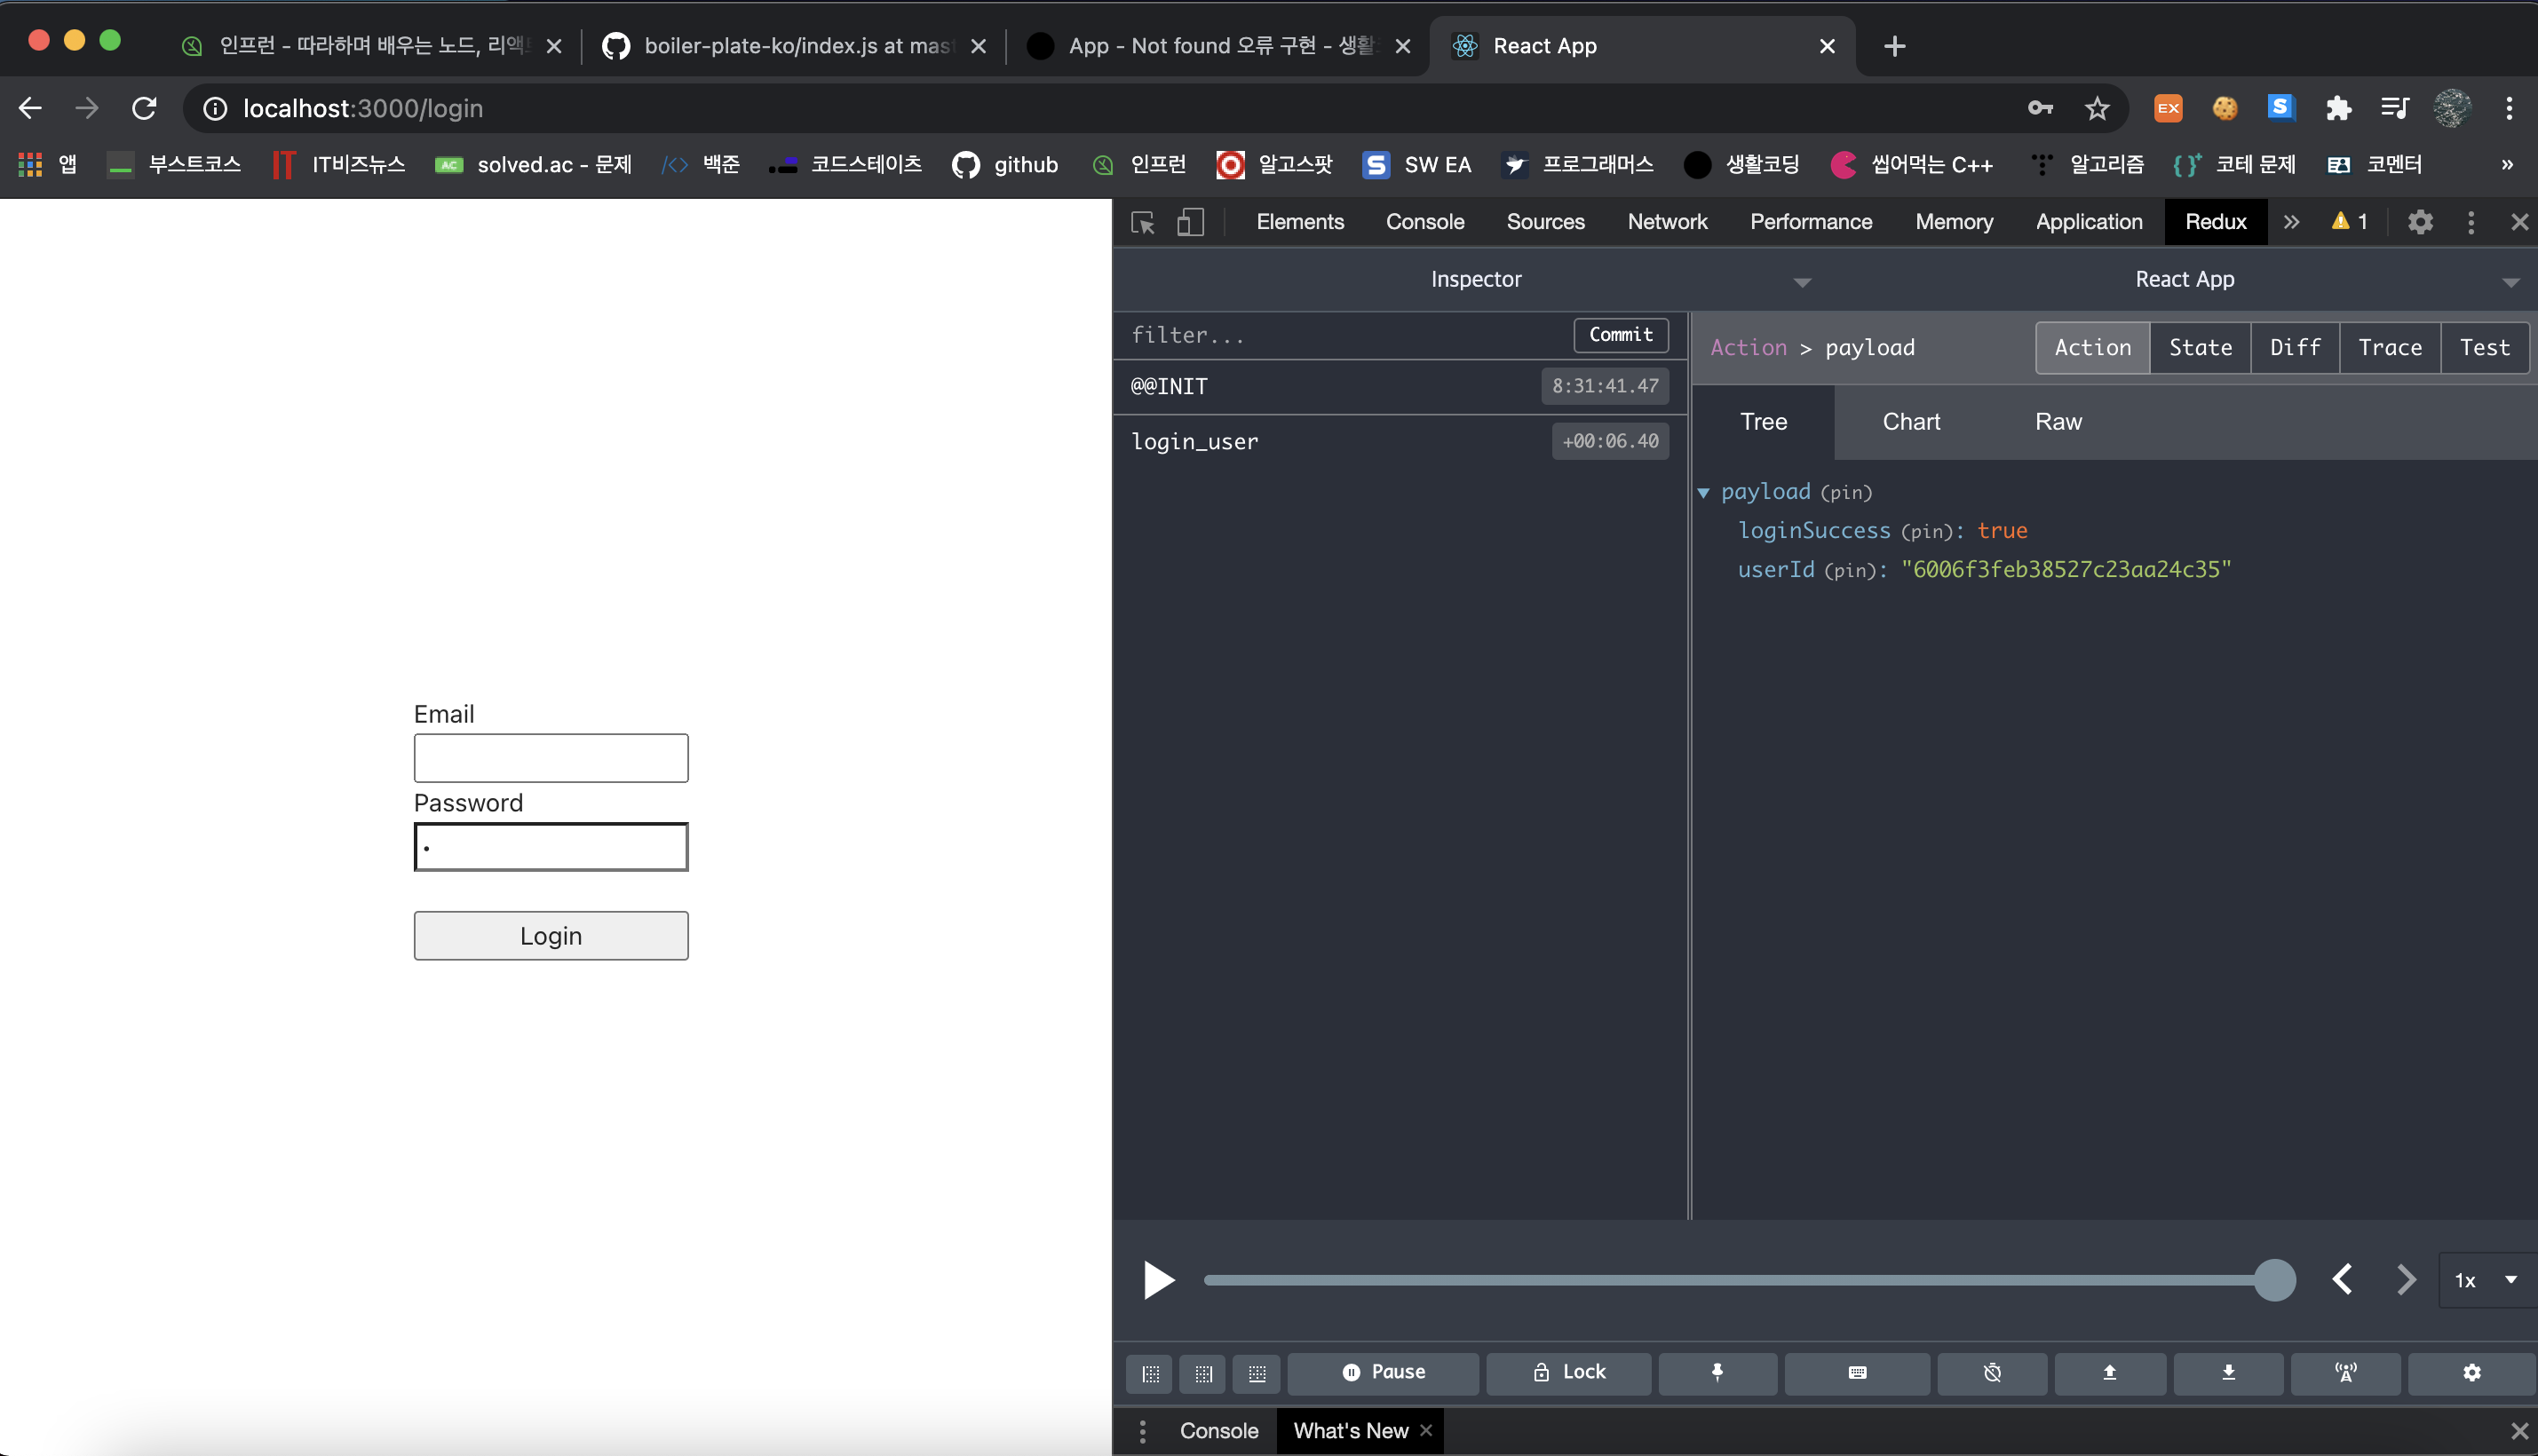
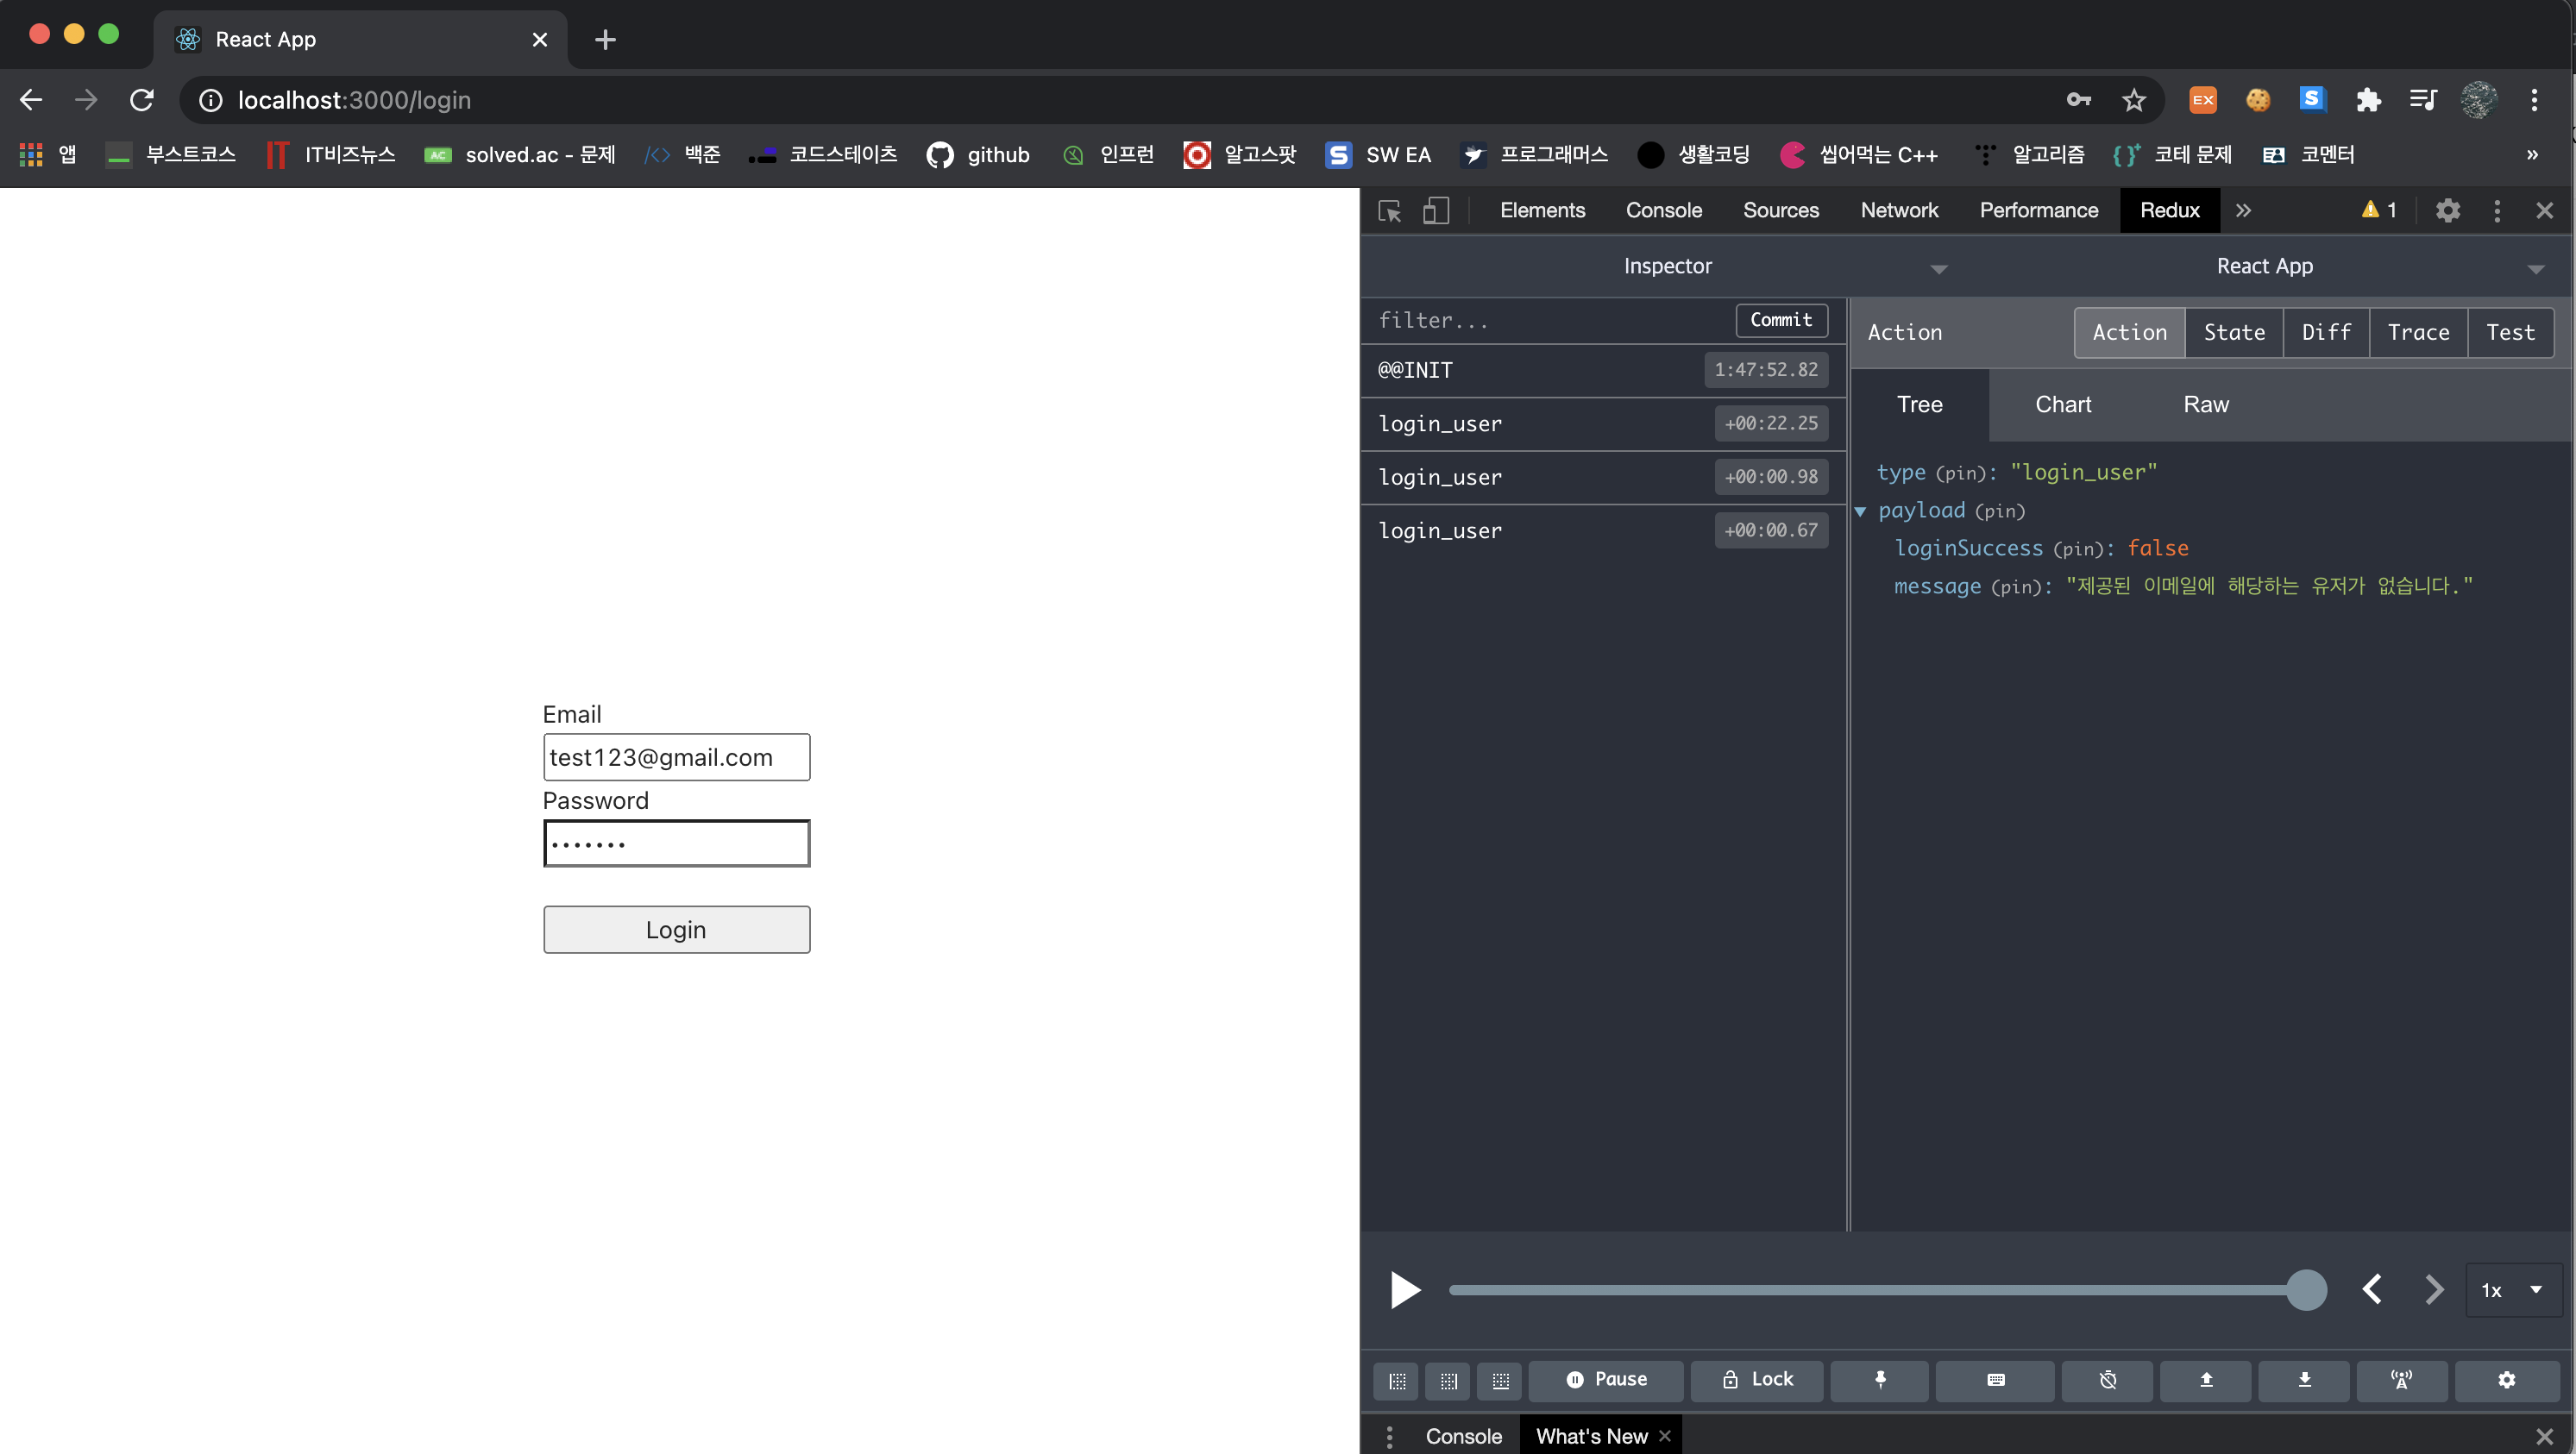
2)로그인 페이지

isAuth 가 false이다.
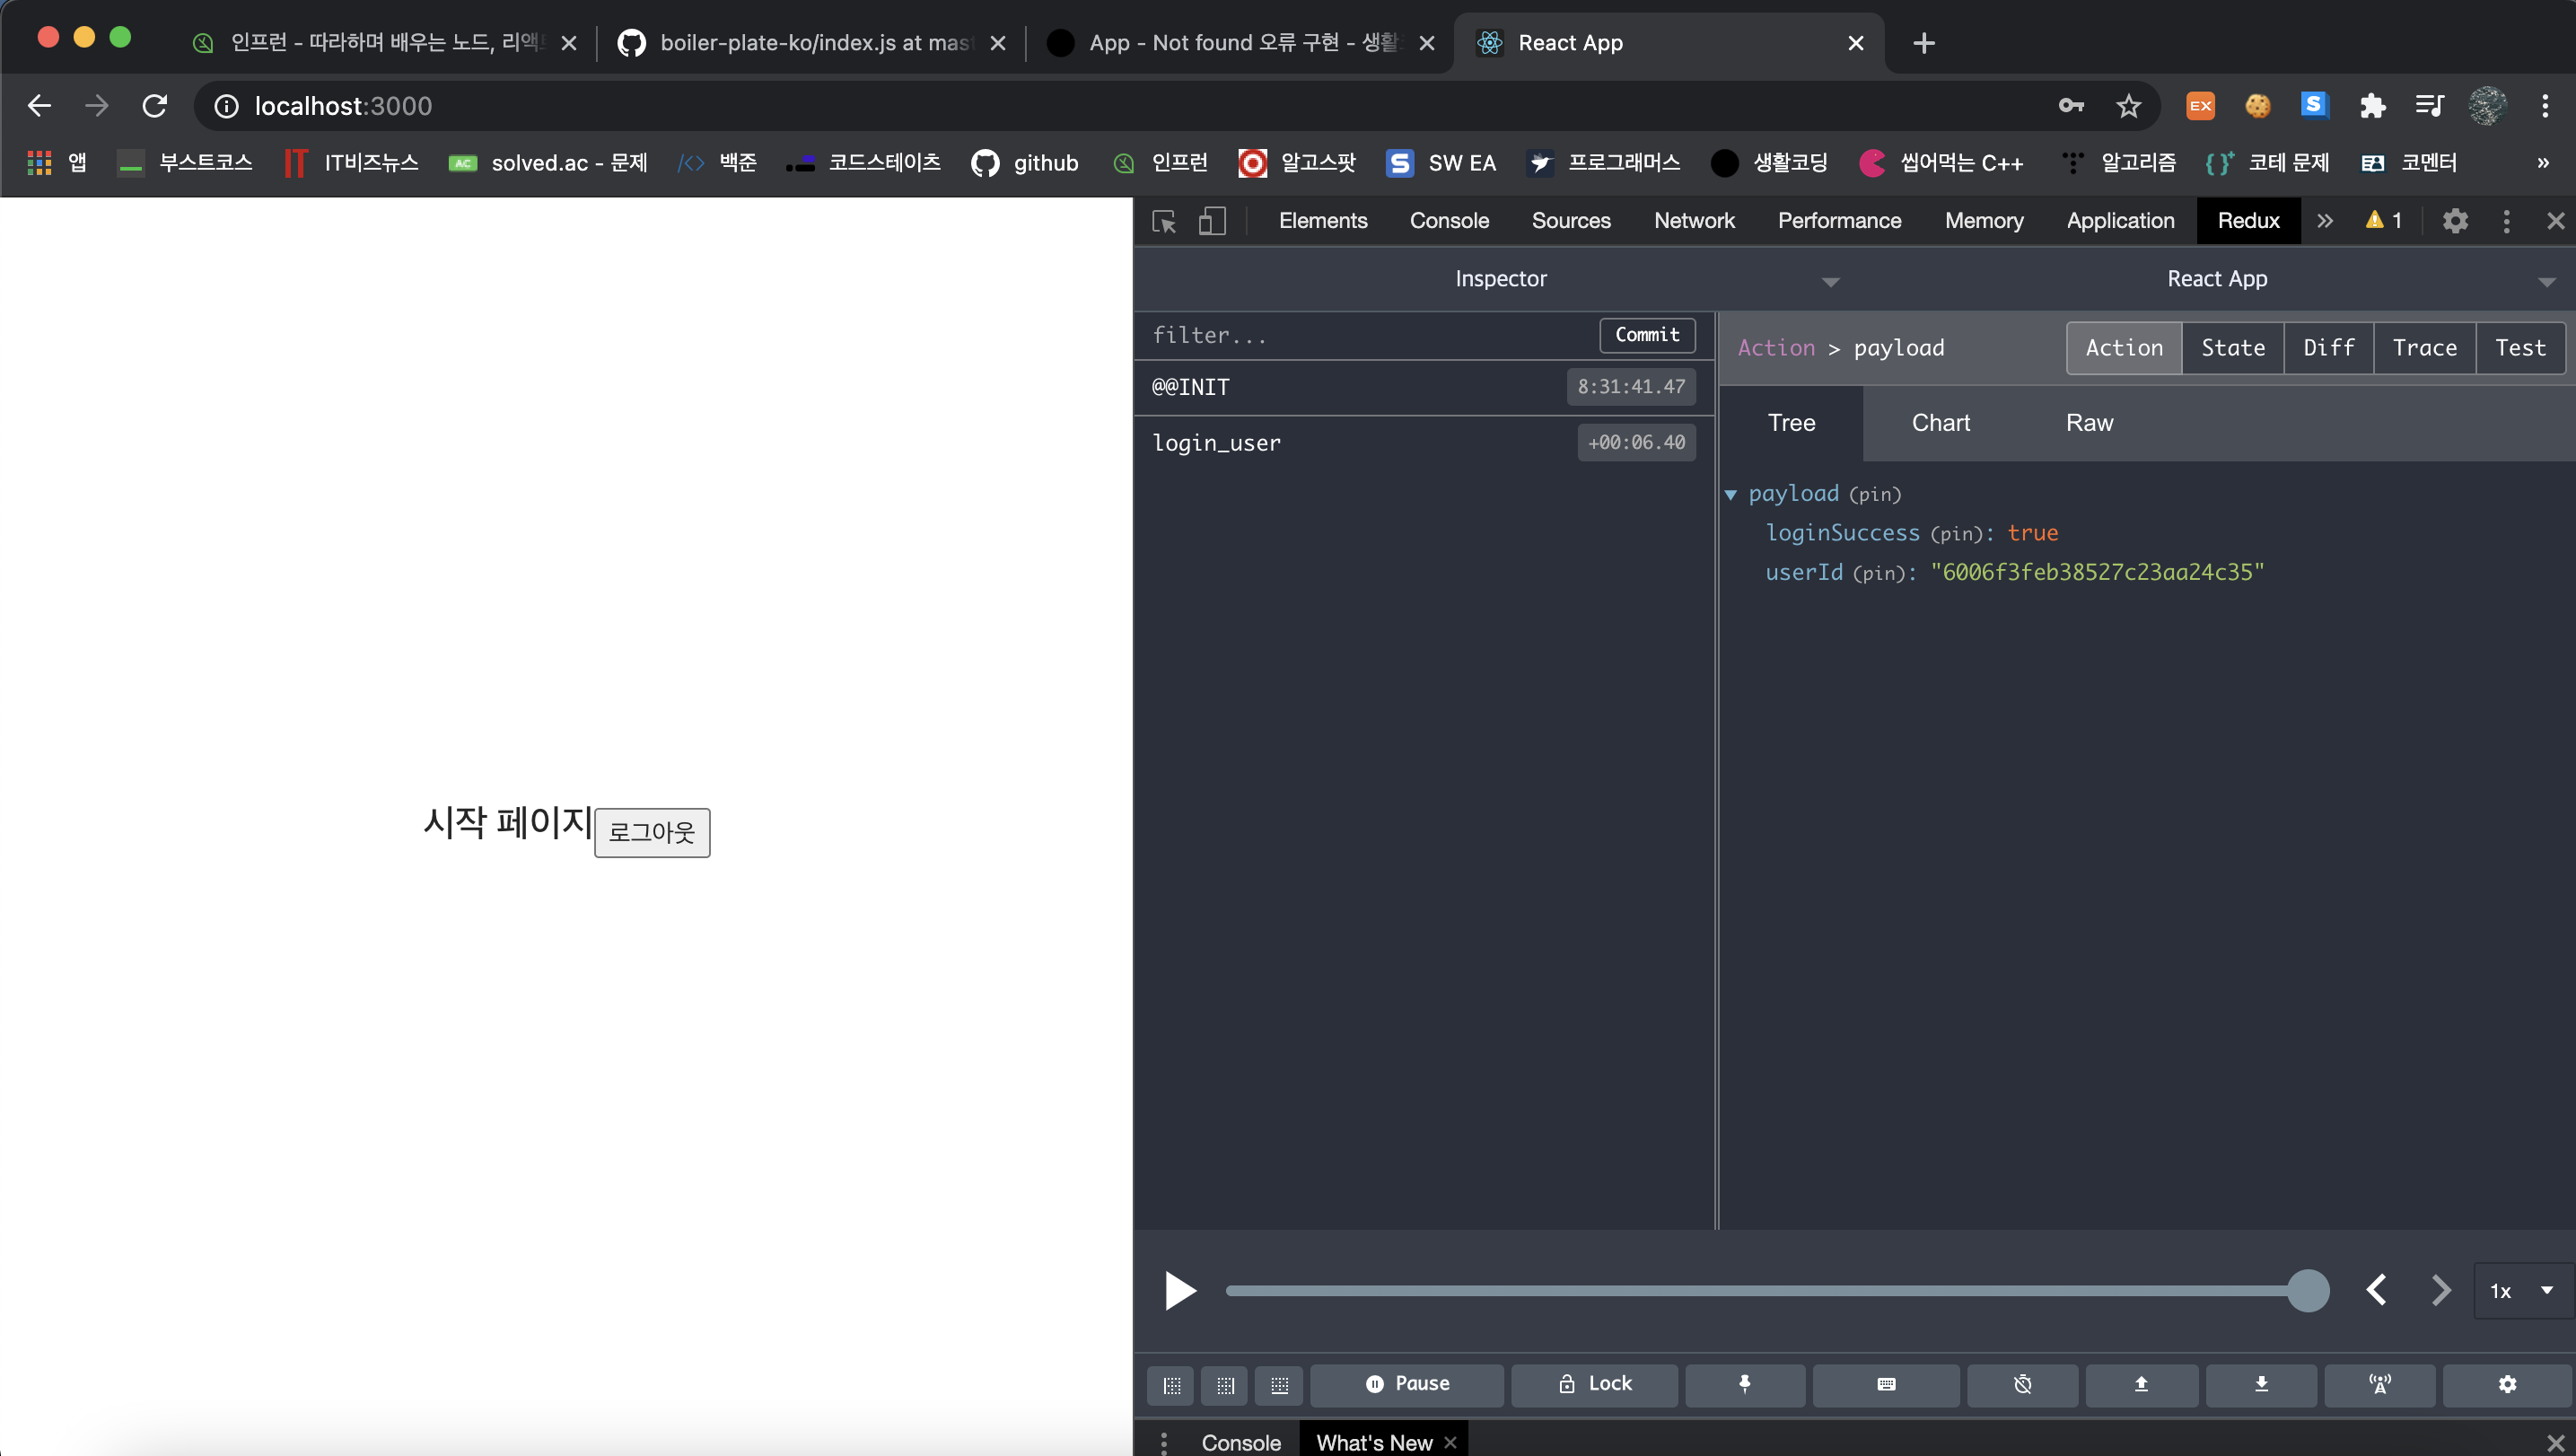
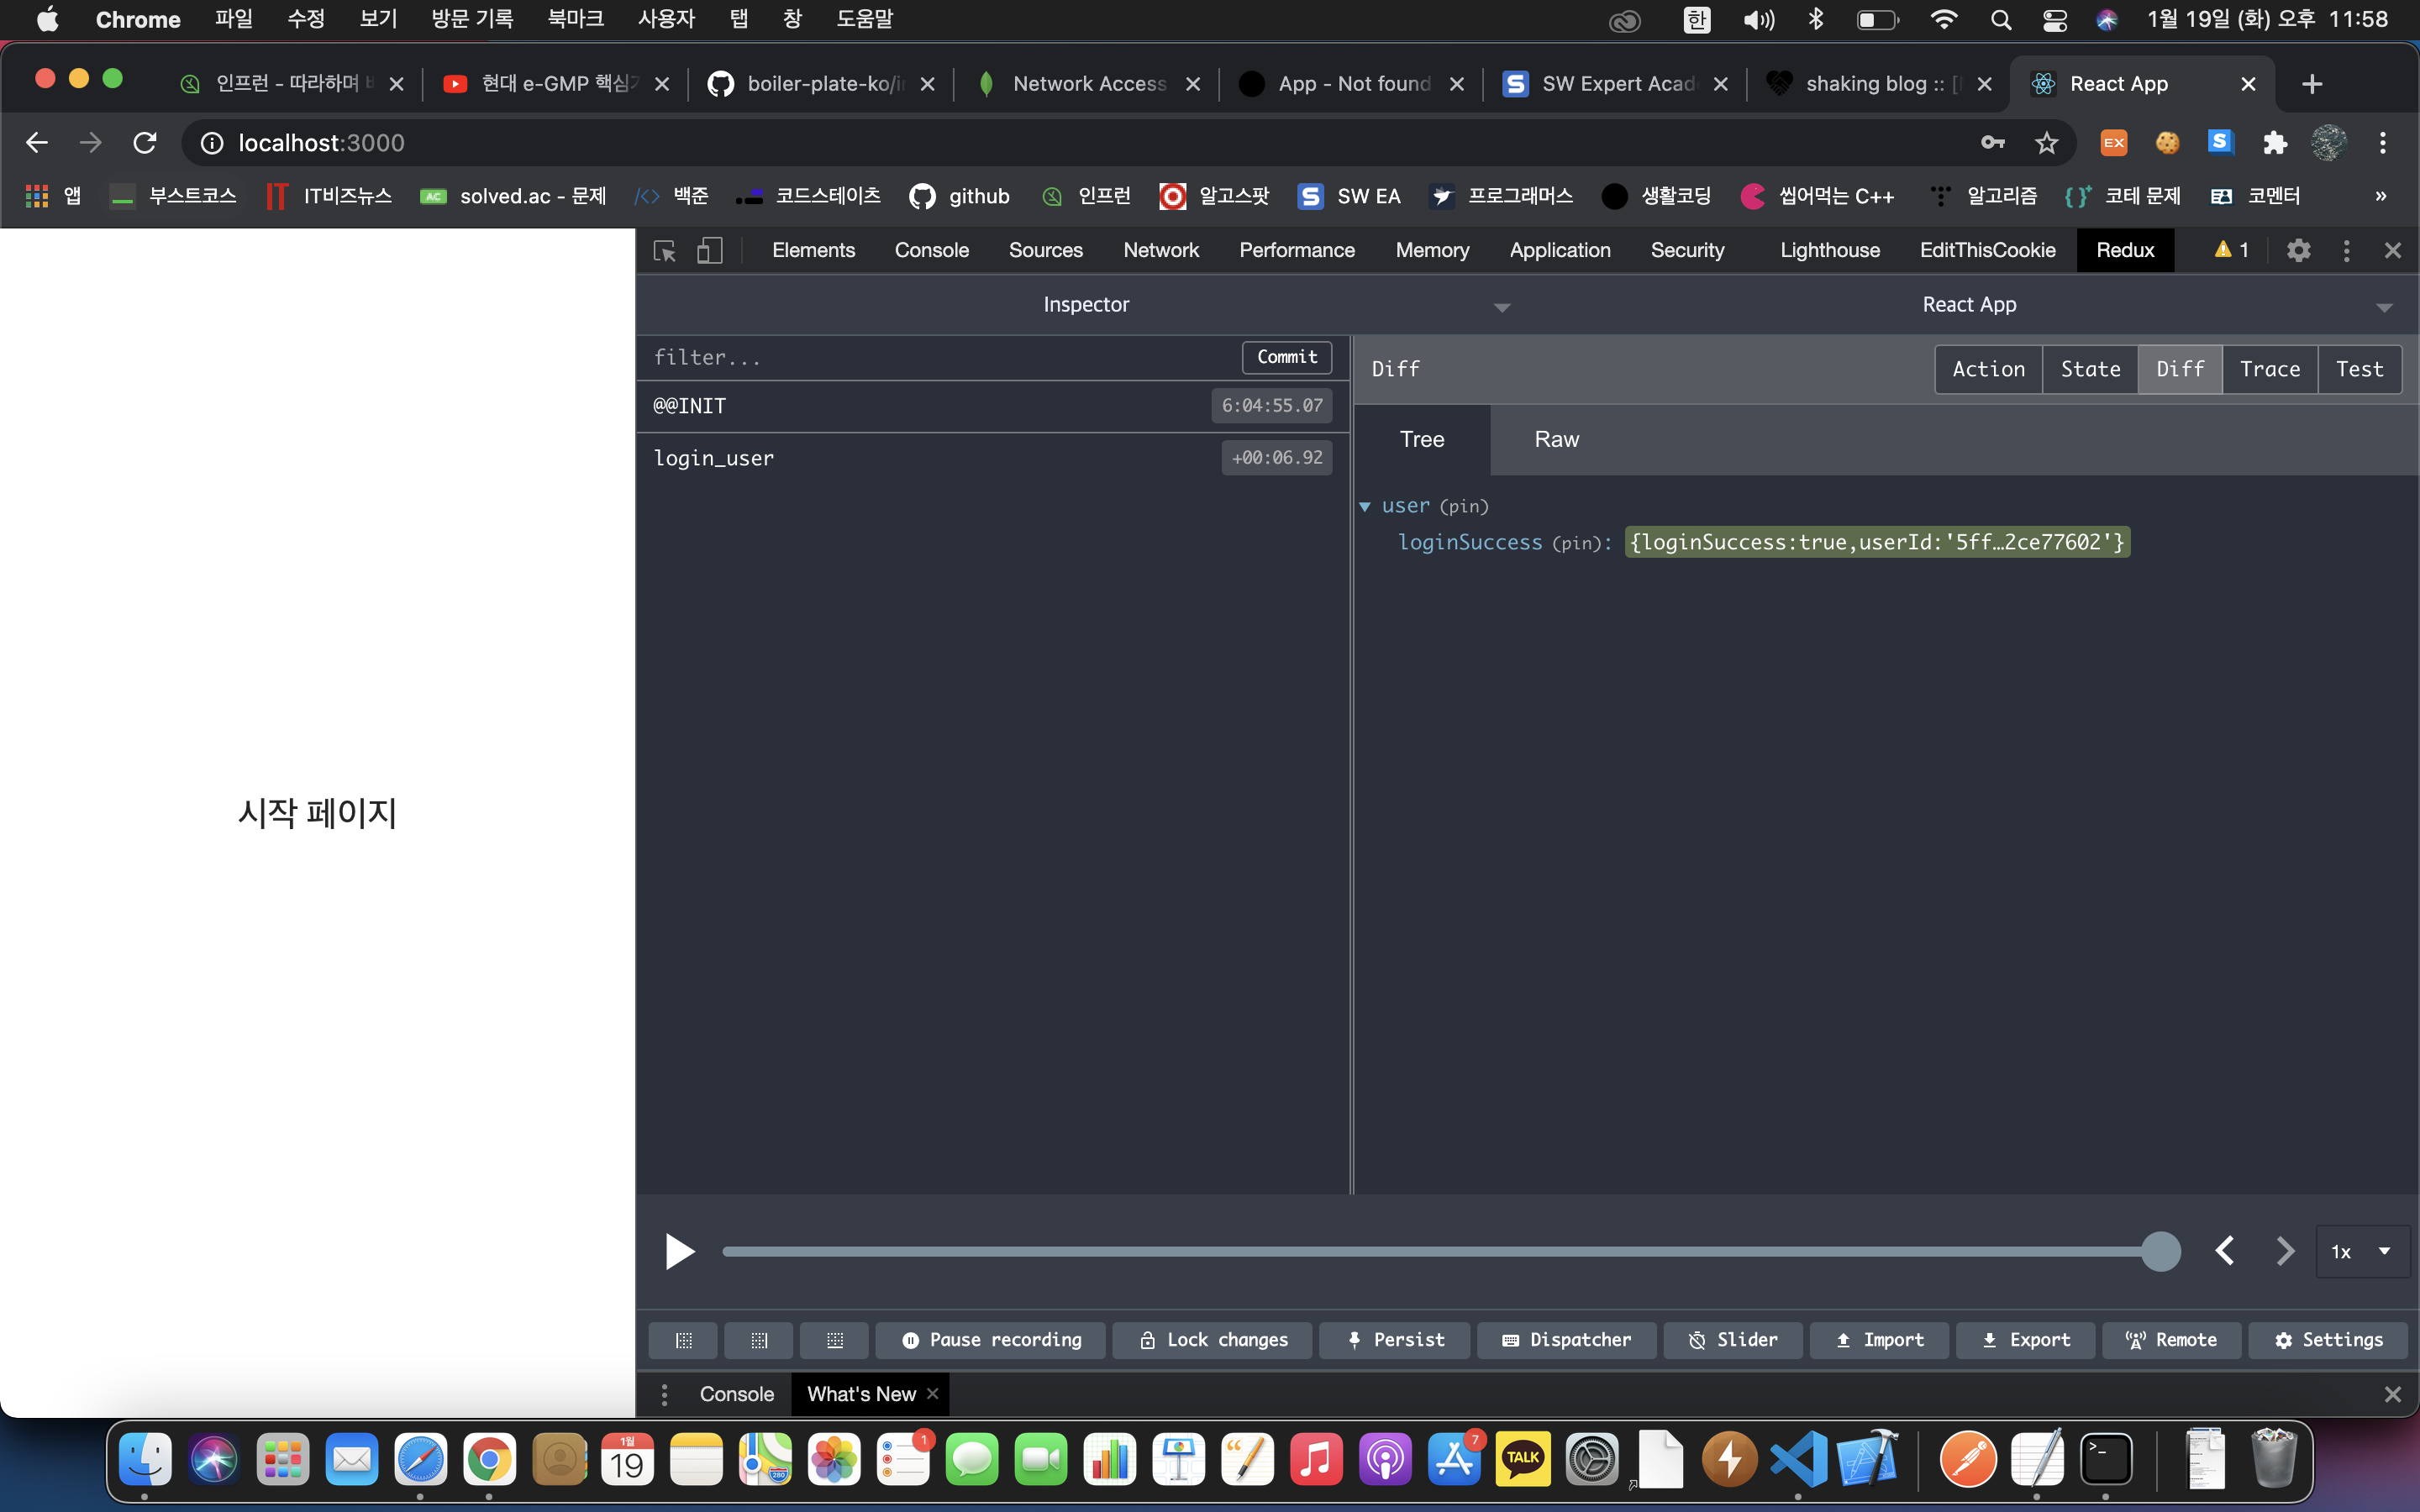
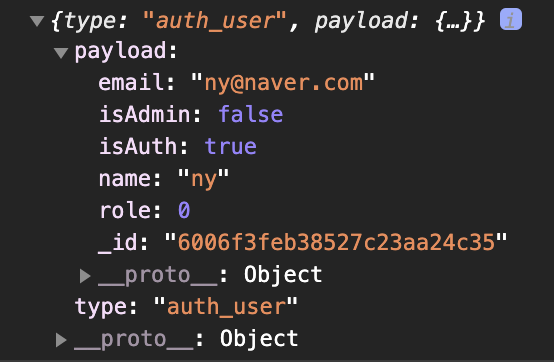
3) 로그인 후 LandingPage

3) 로그아웃 후 로그인 페이지
Step 6) 페이지 접근 관리하기
위에 있는 payload.isAuth는 로그인 된 상태이고 아래 있는 payload.isAuth는 로그아웃된 상태이다. 각각 true, false 이므로 이에 맞게 코드를 작성하자.
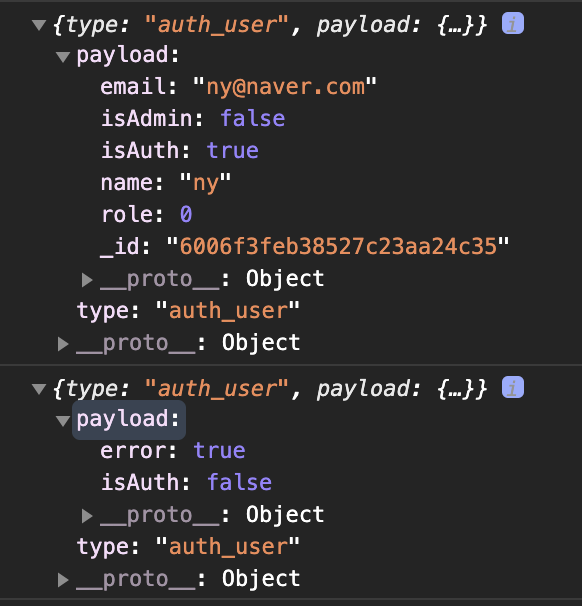
auth.js를 다음과 같이 수정해서 로그인 한 사람은 로그인 페이지나 회원가입 페이지에 접근하지 못하도록 하는 등 페이지 접근을 관리한다.
import React, {useEffect} from 'react';
import axios from 'axios';
import {useDispatch} from 'react-redux'
import {auth} from '../_actions/user_action'
export default function (SpecificComponent, option, adminRoute = null){


    function AuthenticationCheck(props){

        const dispatch = useDispatch();

        useEffect(() => {
                    //auth는 action이름
            dispatch(auth()).then(response => { //backend에서 처리한 정보들이 response안에 다 들어있음
                console.log(response)


                //로그인 하지 않은 상태인데
                if(!response.payload.isAuth) {  //option이 true이면 즉 로그인 된 유저만 들어갈 수 있어야하면
                    if(option){
                        props.history.push('/login')
                    }
                } else{ //로그인 된 상태인데
                    if(adminRoute && !response.payload.isAdmin){
                        props.history.push('/')
                    }
                    else{
                        if(option===false){ //option이 false면 로그인한 유저는 출입 불가능함. 로그인 페이지 or 회원가입 페이지
                            props.history.push('/')
                        }
                    }
                }

            })

        }, [])

        return (
            <SpecificComponent/>
        )
    }


    return AuthenticationCheck
}
참고)
Page 이동에 사용되는 history는 react-router-dom을 이용해서 쓰고 있는 것임.
withRouter 로
export default withRouter(LandingPage)코드 맨 아래에 위와 같이 처리를 해줘야 오류가 안 난다.
여기까지 리엑트 노드를 이용한 로그인, 로그아웃, 회원가입 페이지 구현을 해 보았다.
직접 코드를 작성하면서 웹사이트 구현을 위한 기초를 다질 수 있었고, 이를 통해 서버 및 클라이언트의 전체적인 동작 원리 및 흐름과 MongoDB 사용법 또한 익힐 수 있었다.
'Node & React > Basic Study' 카테고리의 다른 글
| [MAC] Node/React 기초 - 로그아웃 페이지 만들기 (0) | 2021.01.20 |
|---|---|
| [MAC] Node/React 기초 - 회원가입 페이지 만들기 (0) | 2021.01.20 |
| [MAC] Node/React 기초 - 로그인 페이지 만들기 (0) | 2021.01.19 |
| [MAC] Node/React 기초 - Redux란?, Redux 설치 (0) | 2021.01.18 |
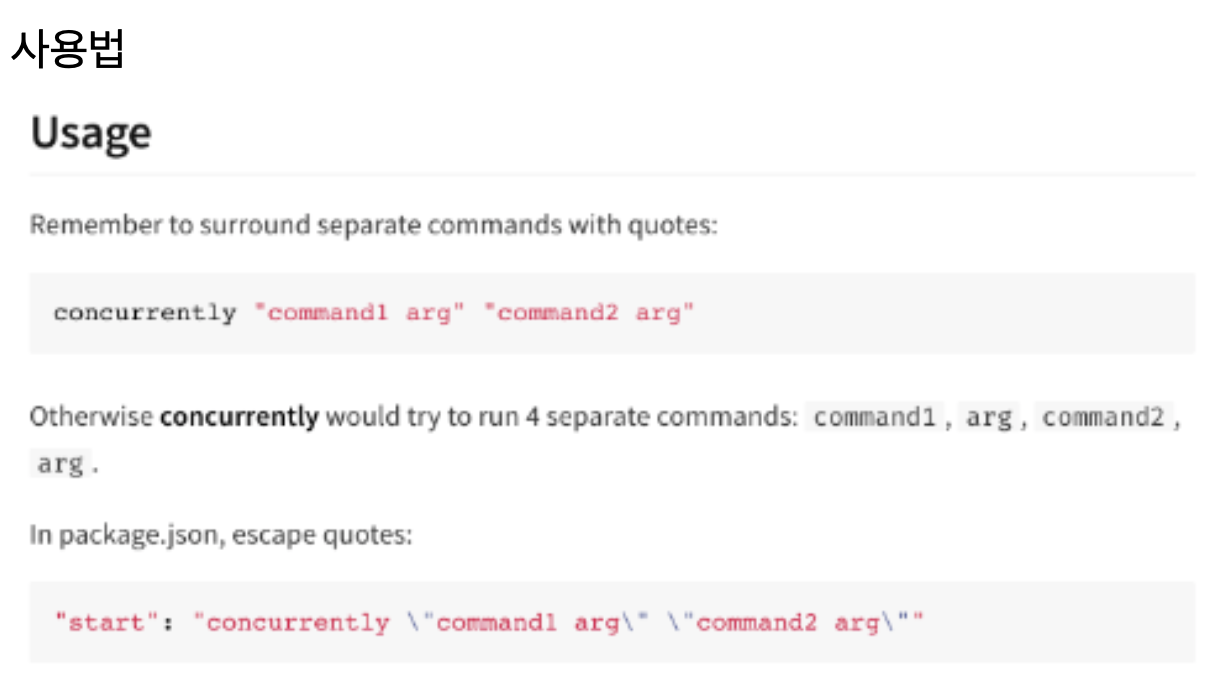
| [MAC] Node/React 기초 - Concurrently (프론트, 백 서버 한번에 켜기) (0) | 2021.01.18 |